
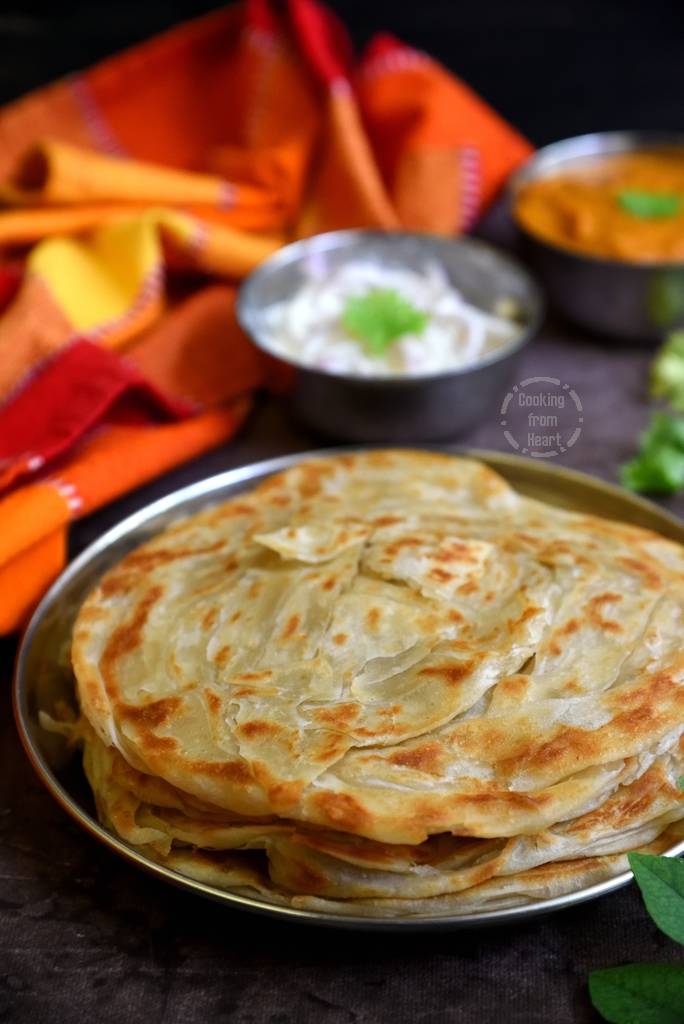
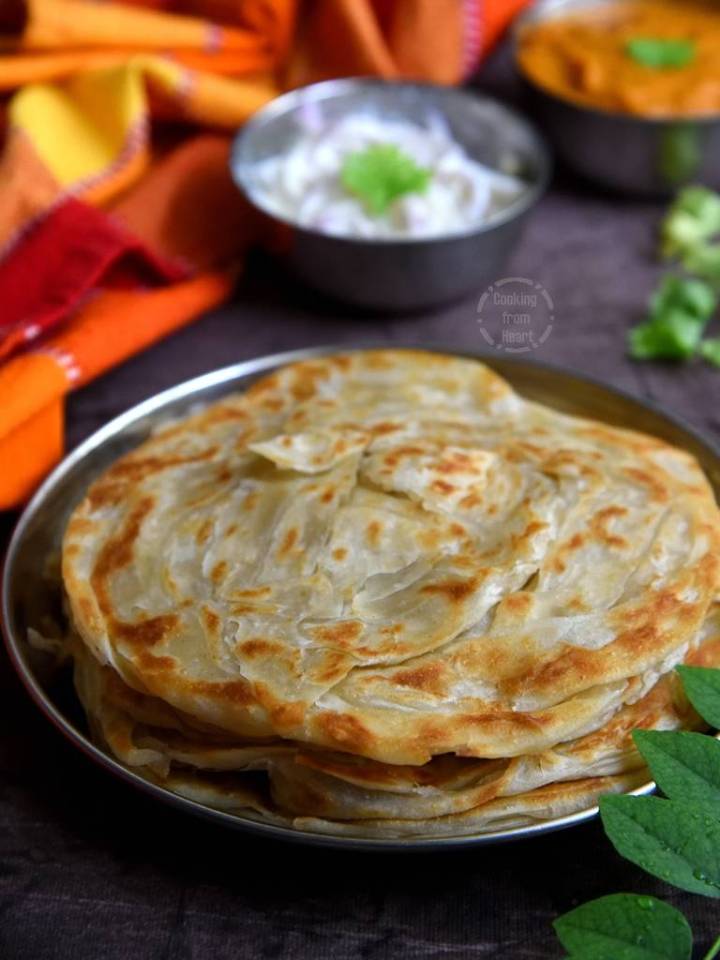
Learn how to make Tamilnadu Style Soft Layered Parotta recipe with step by step pictures. Easy, fail-proof recipe to make flaky and layered parotta recipe.

Today’s Parotta recipe is a much awaited one, something that I have wanted to make for years now but it somehow didn’t happen. And then just like that over last weekend, the husband called me in for a cook-together. If that is a joy in itself, he wanted us to make Tamilnadu Style Soft Layered Parotta recipe! What a delight, really 😀 The husband and I cook most of our weekend meals together and he is always in the kitchen helping me (playing sous chef ;)) but cook-together sessions are all the more fun.
I love Parotta and it is one recipe I have made many times in the past and there are many different parotta varieties on my blog too. But I never got around making the traditional parotta recipe and I had a great time clicking pictures while the husband took over the preparations.
Parotta is a layered flatbread popular in Tamilnadu and Kerala, traditionally made using maida (all-purpose flour). Working with maida and bringing out all the layers while keeping it soft is a tricky process. It involves a lot of elbow grease and the husband happily indulged me by taking over the whole recipe.
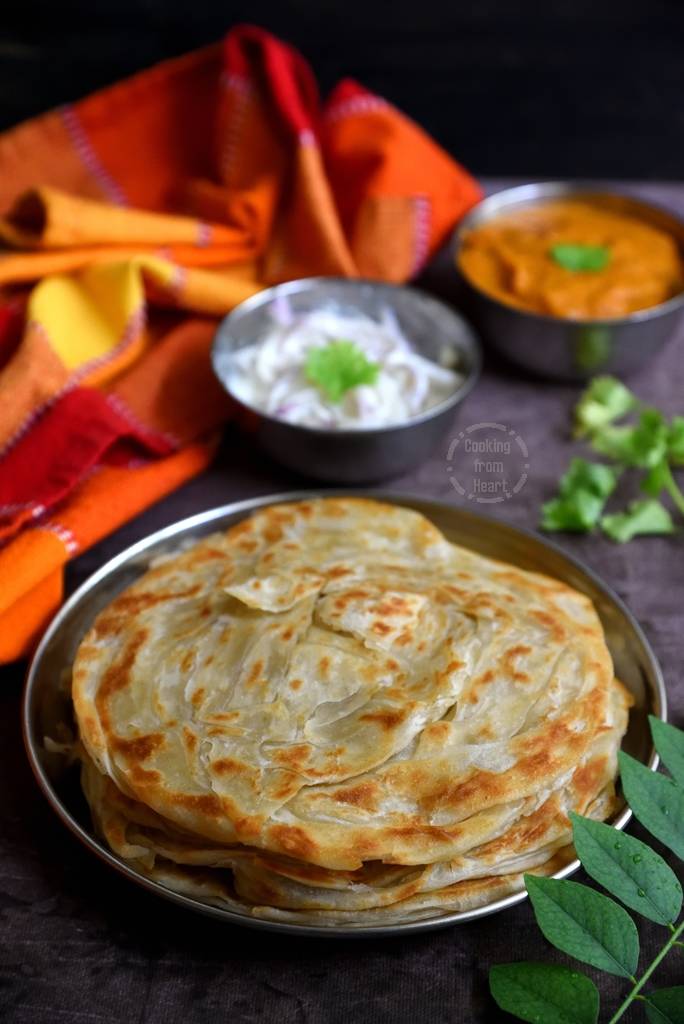
I always make my parottas using whole wheat flour and it works out fairly simple with a good parotta that is healthy too. But a proper Tamilnadu style barotta (pronounced as brotta but is really parotta) is my guilty pleasure! A well-made flaky parotta with Salna or Kurma and thayir pachadi (onion raita) is heavenly! We rarely do eat out but if we ever stop by a restaurant that serves parotta, that will be my first choice. With lockdown and being stuck at home, it felt like ages since we had a nice layered traditional parotta and I was cribbing to the husband. The sweet guy that he is, took cues and decided to make it at home 🙂
Tips to make Soft, Layered & Flaky Parotta
- Traditional Parotta recipe is made using maida, salt, sugar and oil. Eggs are used to keep the dough very soft, but since we wanted to make the parotta recipe without eggs, we used milk and water to knead the dough.
- The dough kneading is slightly different from the usual methods and as much as kneading is important, the dough has to rest well to yield soft, flaky and layered parottas.
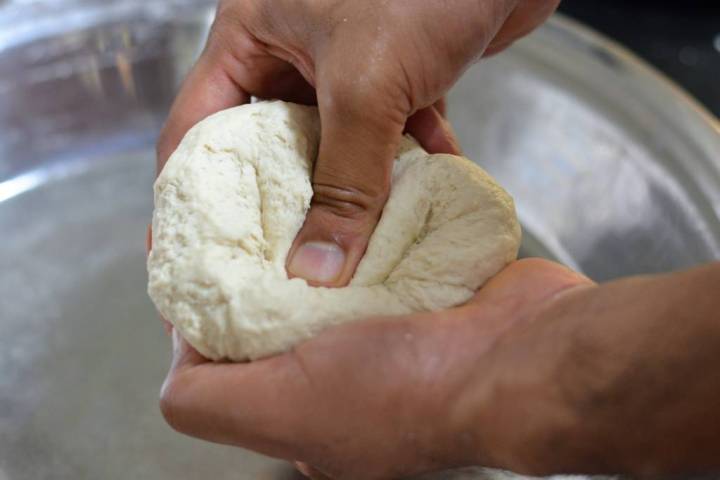
- While making balls of dough – called ‘beeda’, the dough is pushed inside between thumb and index finger, that way producing the smoothest ball.
- Authentic parotta is made by throwing & swinging the dough around instead of rolling it, to make it as thin as possible. For home cooks with limited bench space, this could be a challenge. So we used an easier approach of spreading the dough as thin as possible, don’t mind the holes but just get the dough wafer thin.
- The spread dough is folded in a long ribbon that in turn is rolled into a rough circle. It is important to handle the dough as gently as possible.
- And most importantly, press the prepared parotta using your fingers instead of rolling them to retain all the layers.

- Cook the parotta on medium flame with enough oil, this helps it keep softer for longer duration.
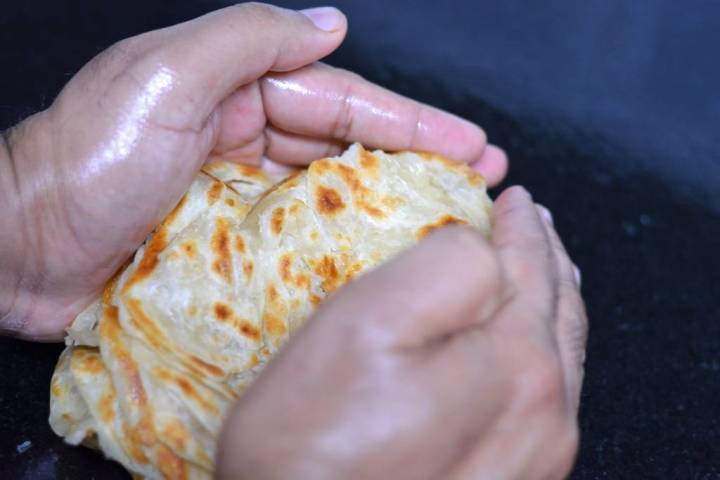
- And finally, stack all the prepared parottas and press them on both sides to bring out the layers!
How to make Parotta Recipe | How to make Soft Layered Parotta
📖 Recipe
Parotta Recipe | How to make Soft Layered Parotta
Equipment
- Flat Tawa/Pan
- Large Mixing Bowl
MEASUREMENT
1 cup = 250ml, 1 tablespoon = 15ml, 1 teaspoon = 5ml
Ingredients
- 2 cups Maida All-Purpose Flour
- ¼ cup Milk at room temperature
- 1 teaspoon Sugar
- Salt as needed
- Water as needed
- Oil as needed check recipe for oil usage
Instructions
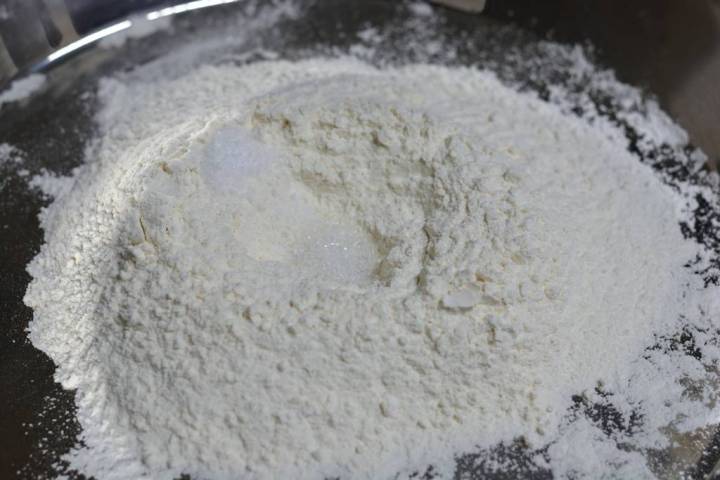
- In a large plate or mixing bowl add 2 cups maida, 1 teaspoon sugar, salt as needed. Roughly mix it together and make a well in the center.
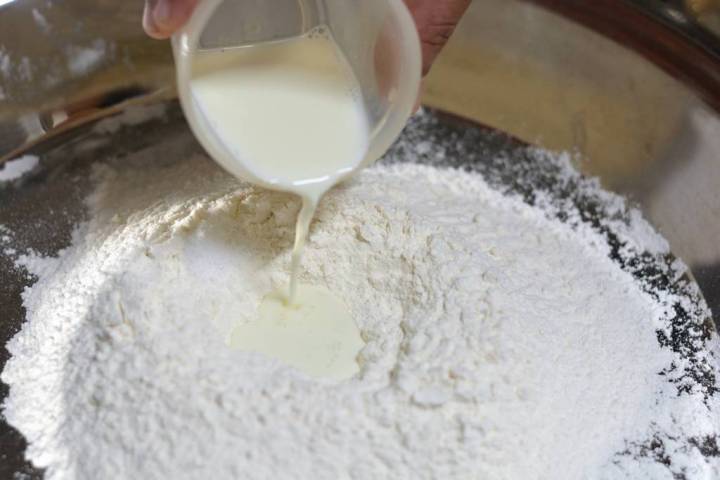
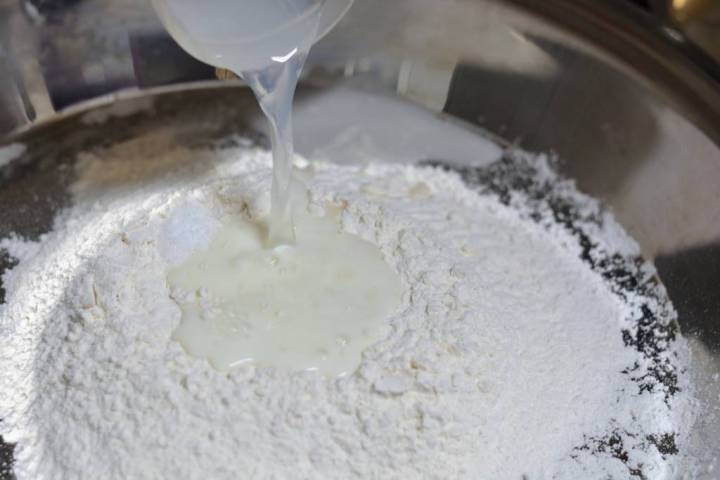
- Pour ¼ cup milk (at room temperature) and also add water as needed.
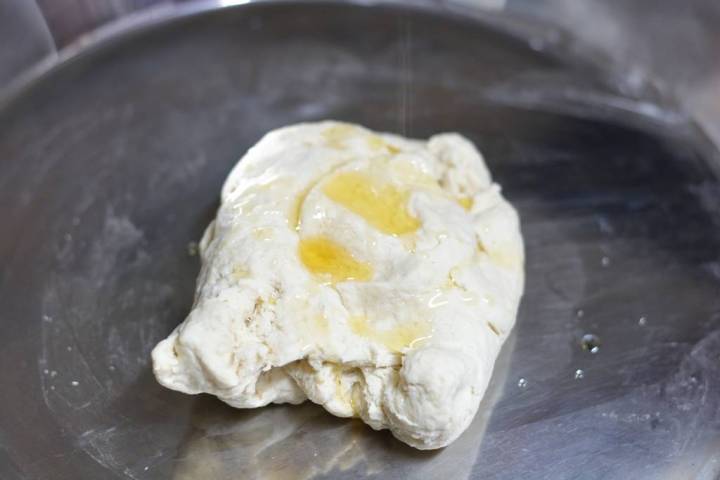
- Knead into a soft pliable dough. Add 1 tablespoon oil on top.
- Now knead the dough using this special kneading technique as shown below. Push the dough using the thumb finger and keep repeating this multiple times until it is soft & smooth.
- Add 2 tablespoon oil on top of the kneaded dough and cover it with a damp kitchen towel. Rest it for 2 hours at the least.
- After resting, knead the dough again. It should be very smooth and soft.
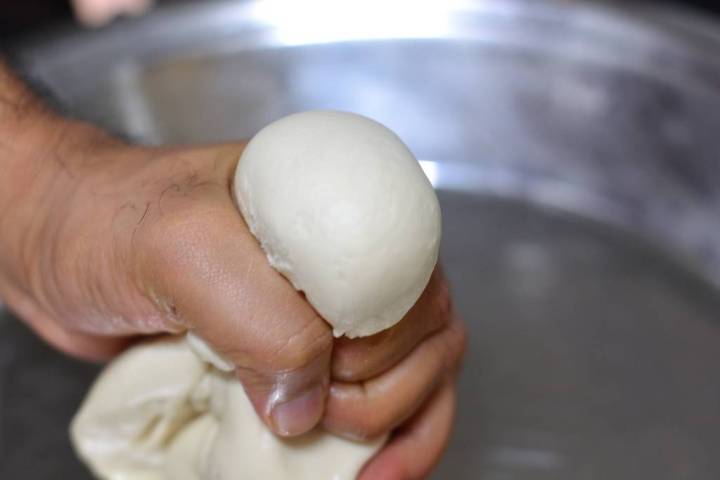
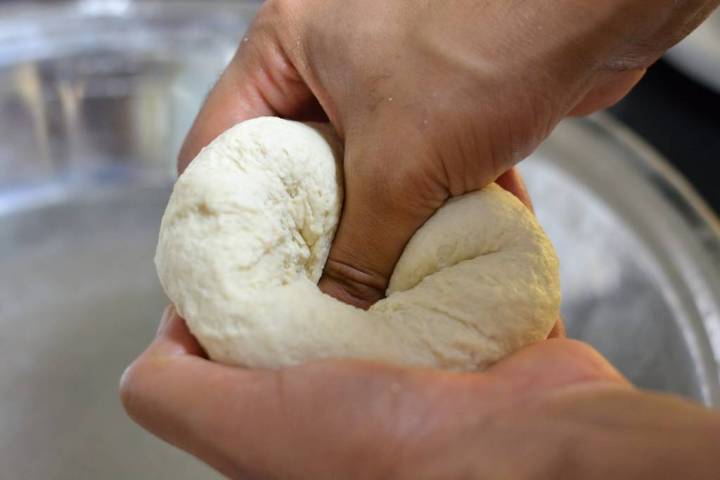
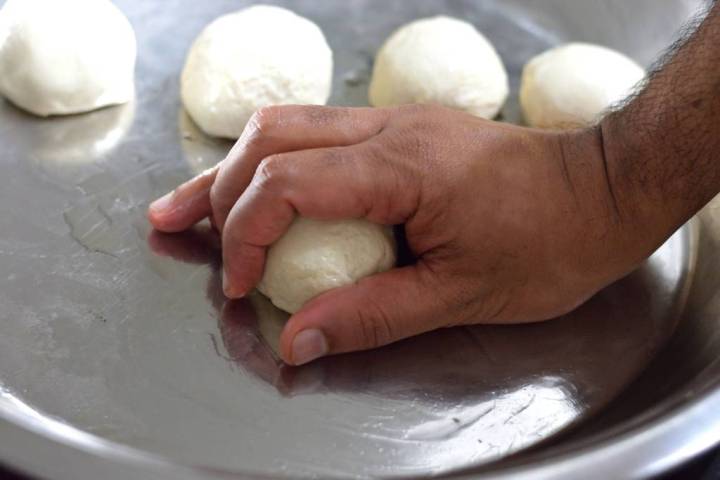
- Now we will make ‘beeda’ which is making balls out of the dough. Push the dough between the thumb & index finger – it should come out in a smooth ball. Twist it remove it.
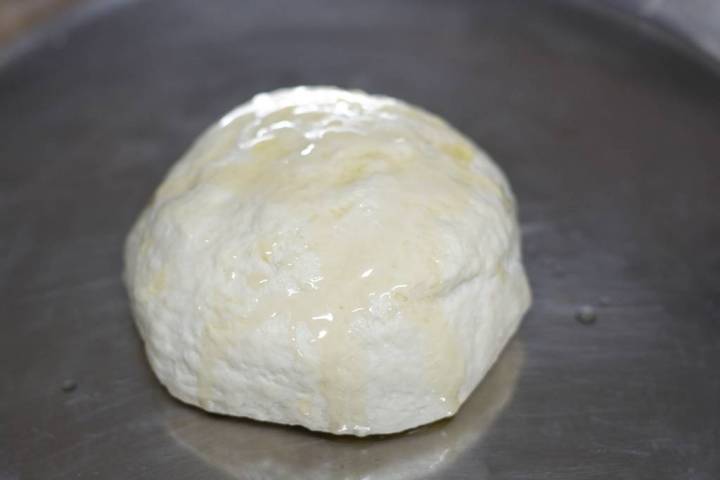
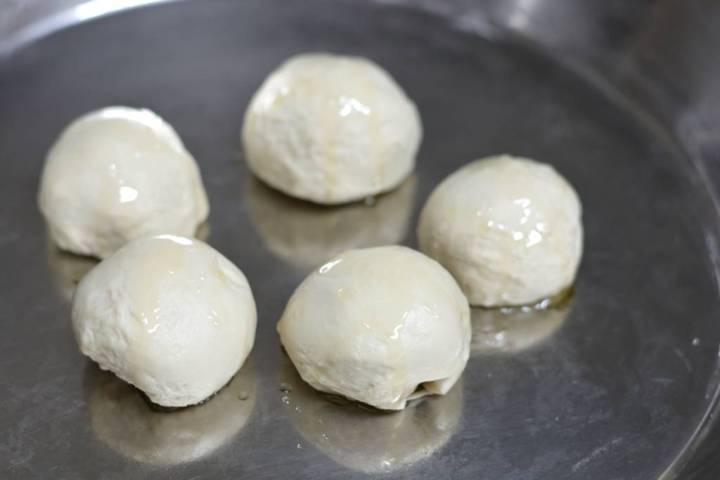
- Repeat this process until all the dough has been made into smooth balls. If required, knead the dough again to smoothen it. Add a teaspoon of oil on each ball of dough and rest for 15-20 mins.
- Take a ball of dough and cup it with your palm, roll it to a soft ball without any creases. Repeat this with all the dough balls.
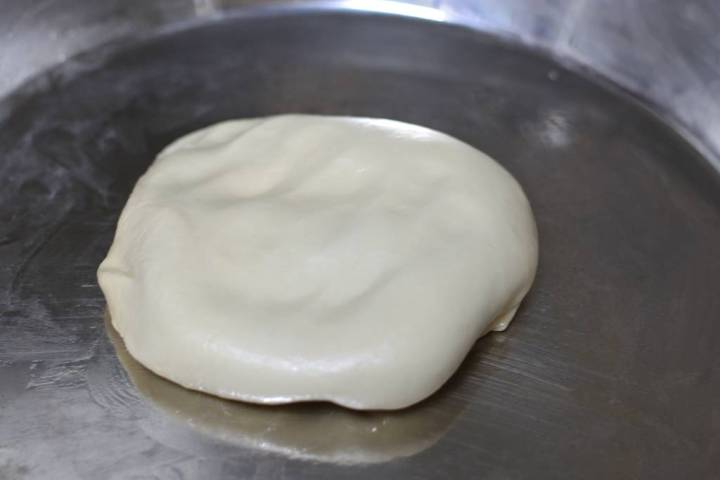
- Now take a ball of dough and start spreading it on a greased surface. We used our kitchen slab (wiped it clean and applied a layer of oil)
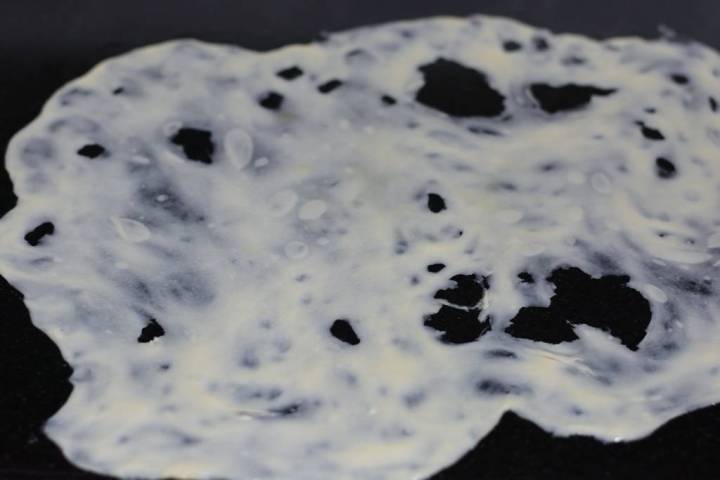
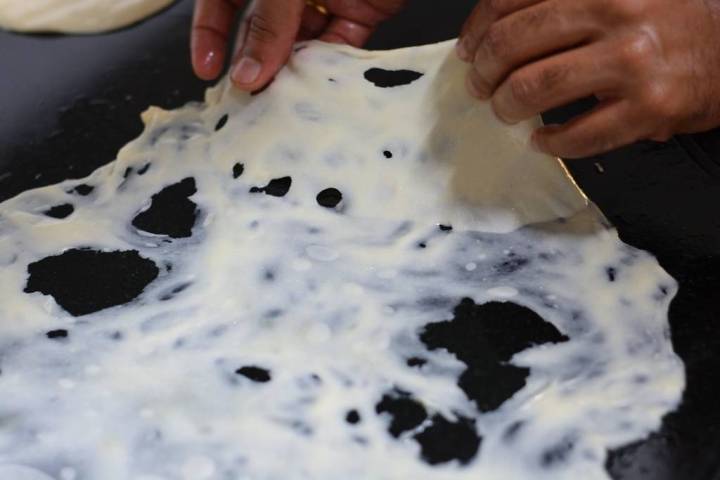
- Spread it as thin as possible, don’t worry about the holes or shape. If needed, grease your fingers in little oil.
- Now carefully lift the spread dough from one end (from shorter side) without tearing it.
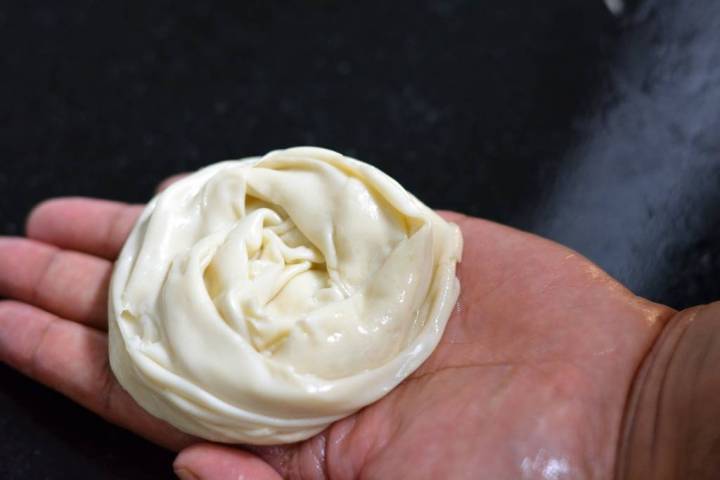
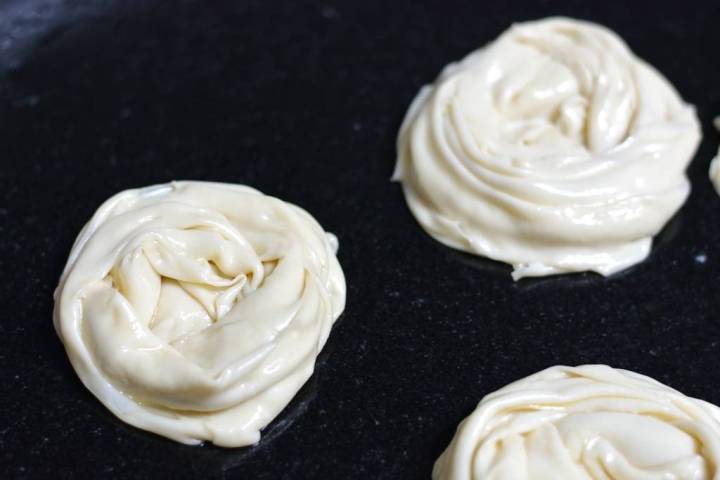
- Gently gather it together to form a long ribbon of dough. Shape it in spiral shape without pressing it. It should fall down on its own.
- Rest it on the greased kitchen counter and prepare the rest of the dough balls similarly.
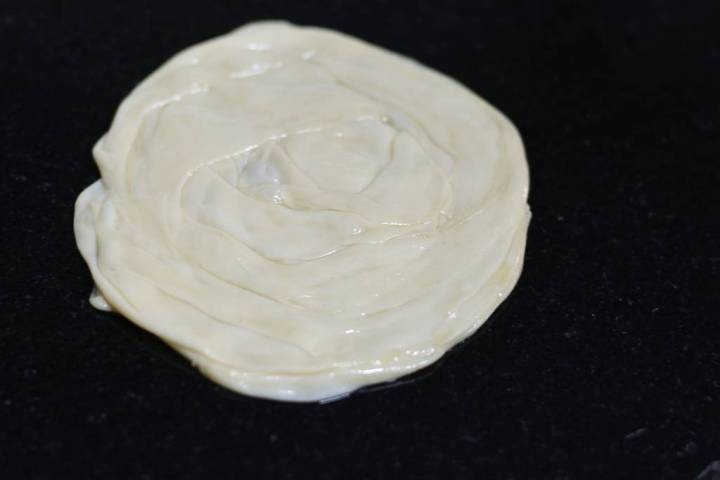
- To shape the parotta, add a few drops of oil on the prepared dough spiral and press it gently into a not so thin parotta. As this is made with maida, it contracts quickly so don’t spread it too thick.
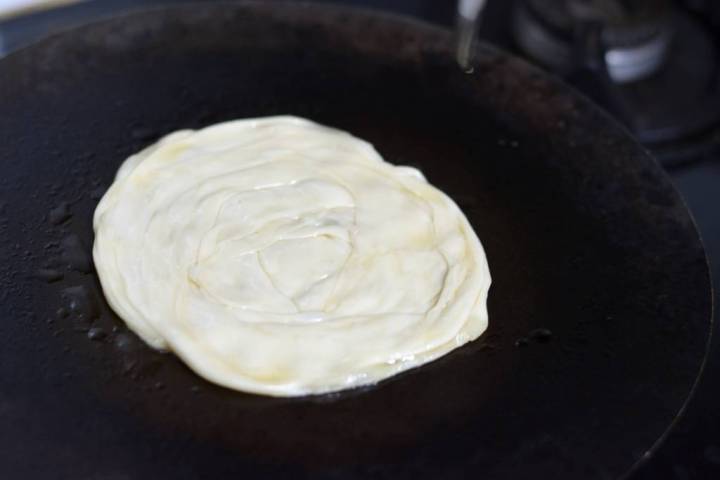
- Heat a pan on medium flame and keep it on low heat once hot. Place the prepared parotta and drizzle a teaspoon of oil around the edges.
- As the bottom is cooked & turns golden brown streaks, flip it over gently. Again drizzle a teaspoon of oil on sides and top.
- When both the sides have golden brown spots and are cooked, remove it from heat. As one parotta is cooked, shape the next one.
- Once all the parottas are cooked, stack them on the kitchen counter and press them from both sides to bring out the layers. This has to be done when the parottas are hot/warm enough.
Nutrition
Detailed step-wise picture recipe of making Parotta Recipe | How to make Soft Layered Parotta
In a large plate or mixing bowl add 2 cups maida, 1 teaspoon sugar, salt as needed. Roughly mix it together and make a well in the center.
Pour ¼ cup milk (at room temperature) and also add water as needed.
Knead into a soft pliable dough. Add 1 tablespoon oil on top.
Now knead the dough using this special kneading technique as shown below. Push the dough using the thumb finger and keep repeating this multiple times until it is soft & smooth.
Add 2 tablespoon oil on top of the kneaded dough and cover it with a damp kitchen towel. Rest it for 2 hours at the least.
After resting, knead the dough again. It should be very smooth and soft.
Now we will make ‘beeda’ which is making balls out of the dough. Push the dough between the thumb & index finger – it should come out in a smooth ball. Twist it remove it.
Repeat this process until all the dough has been made into smooth balls. If required, knead the dough again to smoothen it. Add a teaspoon of oil on each ball of dough and rest for 15-20 mins.
Take a ball of dough and cup it with your palm, roll it to a soft ball without any creases.
Repeat this with all the dough balls.

Now take a ball of dough and start spreading it on a greased surface. We used our kitchen slab (wiped it clean and applied a layer of oil)
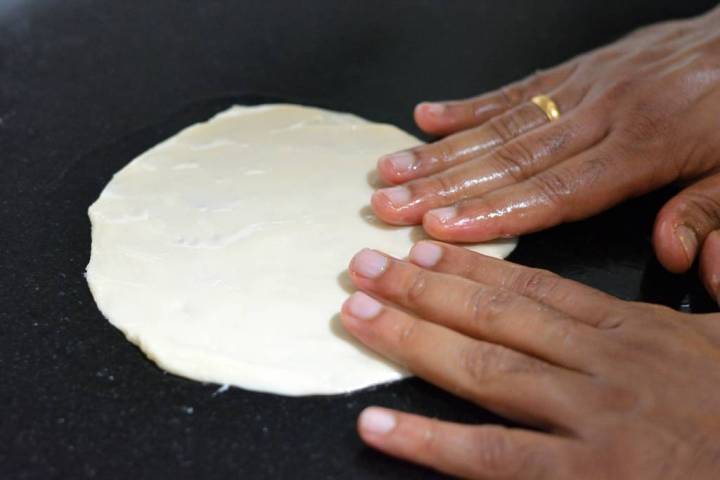
Spread it as thin as possible, don’t worry about the holes or shape. If needed, grease your fingers in little oil.
Now carefully lift the spread dough from one end (from shorter side) without tearing it.

Gently gather it together to form a long ribbon of dough.
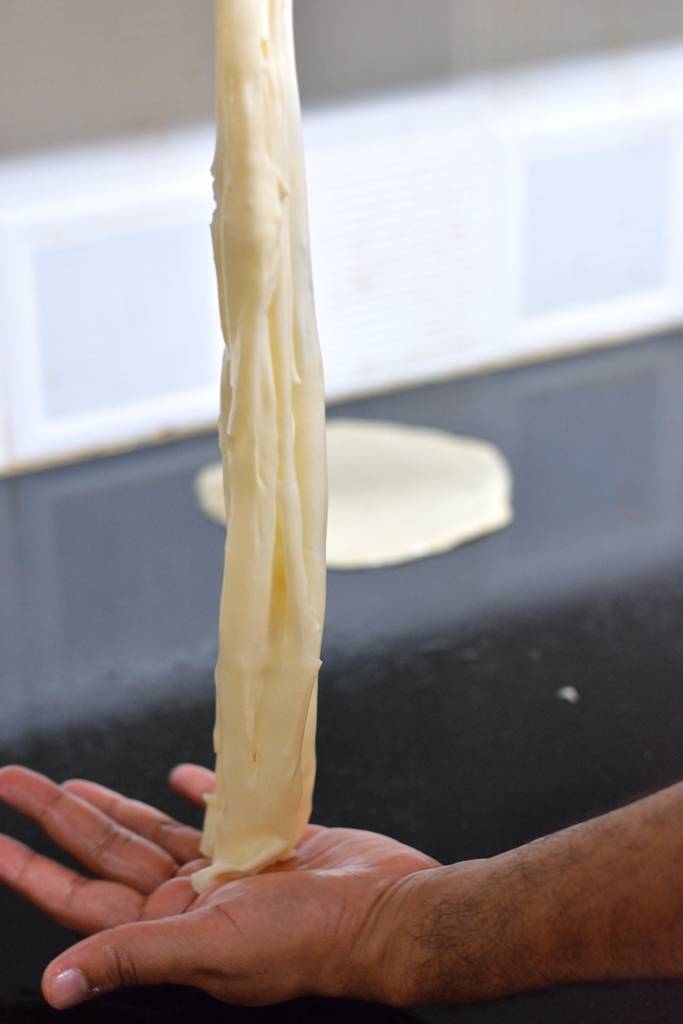
Shape it into a spiral without pressing it. It should fall down on its own.

Rest it on the greased kitchen counter and prepare the rest of the dough balls similarly.
To shape the parotta, add a few drops of oil on the prepared dough spiral and press it gently into a not so thin parotta. As this is made with maida, it contracts quickly so don’t spread it too thick.
Heat a pan on medium flame and keep it on low heat once hot. Place the prepared parotta and drizzle a teaspoon of oil around the edges.
As the bottom is cooked & turns golden brown streaks, flip it over gently. Again drizzle a teaspoon of oil on sides and top.
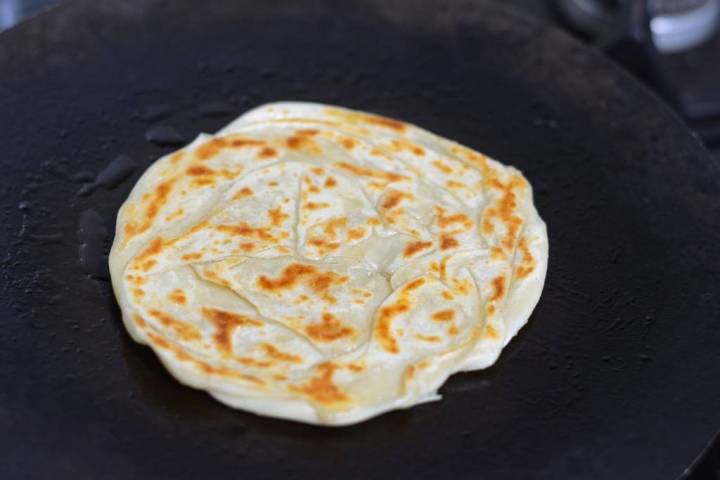
When both the sides have golden brown spots and are cooked, remove it from heat. As one parotta is cooked, shape the next one.

Once all the parottas are cooked, stack them on the kitchen counter and press them from both sides to bring out the layers. This has to be done when the parottas are hot/warm enough.

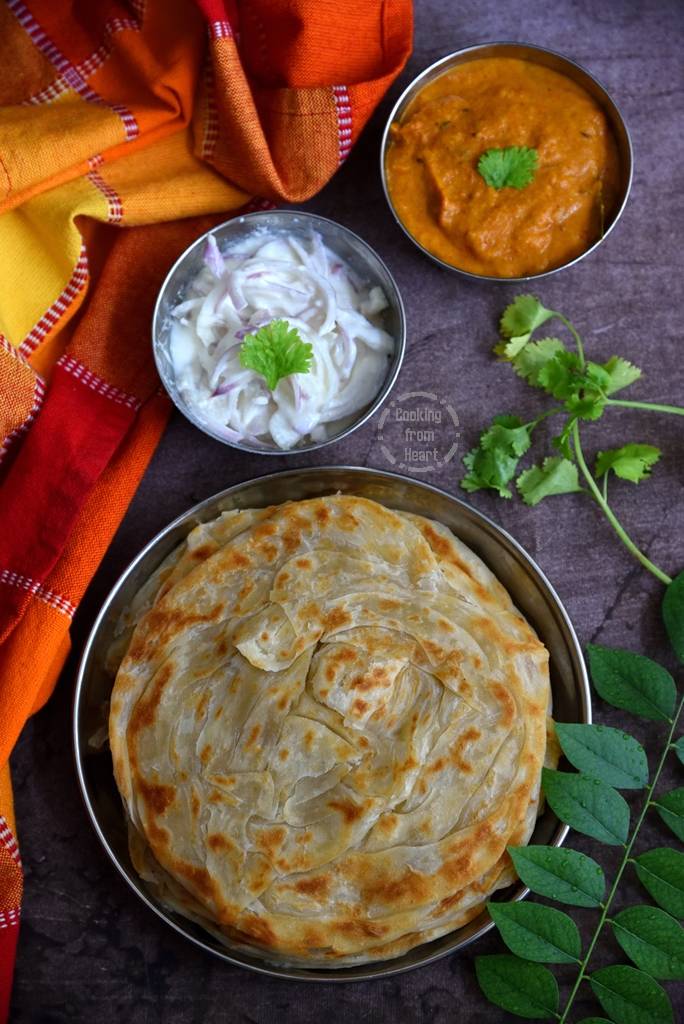
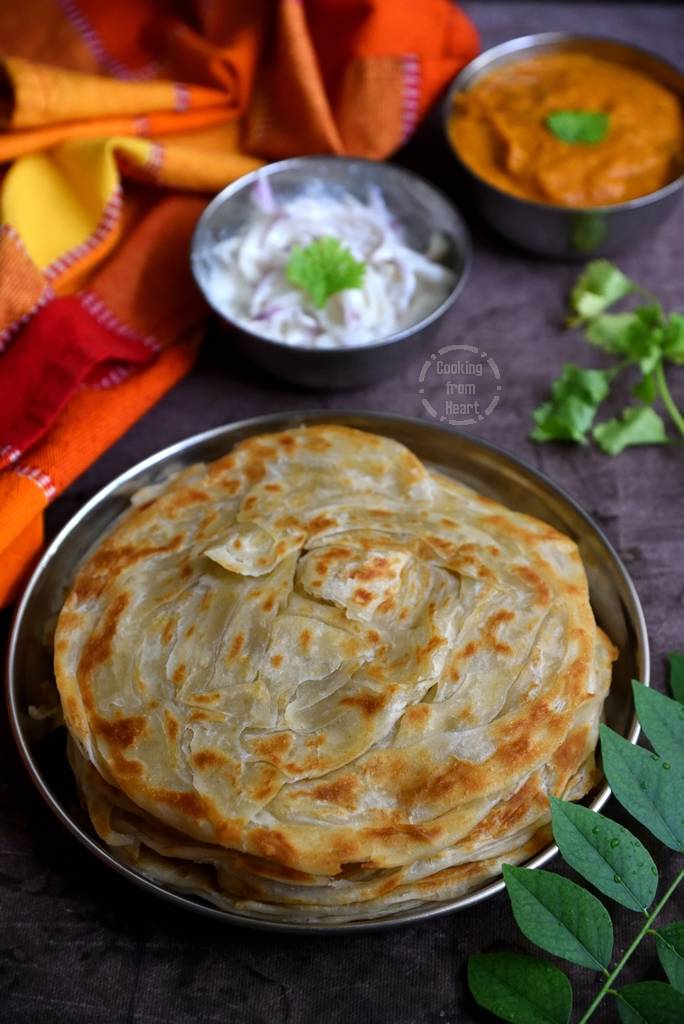
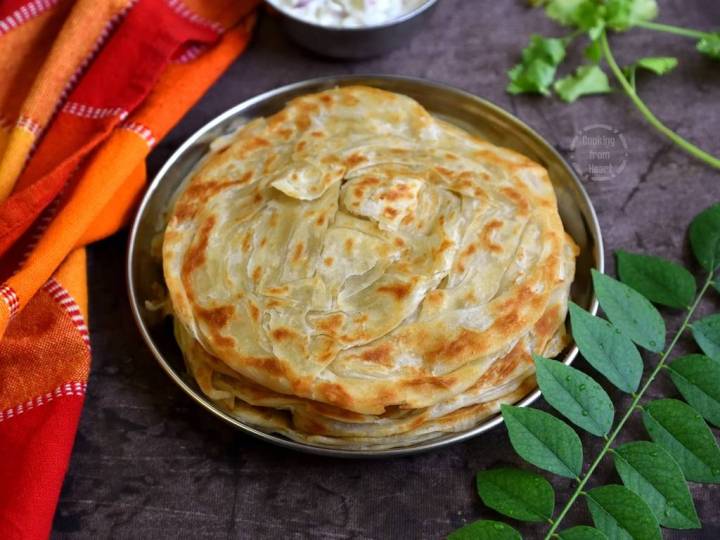
Serve hot with Salna or Kurma with a side of thayir pachadi/onion raita. If not serving immediately, store them in hotpack/hotbox to retain the softness. You can also freeze the cooked parottas in ziplock bags for upto few weeks.
Recipe Notes
- Milk is optional and it is added to make the dough softer. You can use water instead.
- The longer the dough rests, the better it stretches.
I would be delighted to know if you have tried this recipe, don’t forget to share your feedback and comments below. If you have any questions, you can e-mail me! I am also available on Facebook, Pinterest, Instagram and Twitter 🙂
Comments
No Comments