
Quick and delicious Semiya Kesari recipe with video and detailed step by step pictures. Easy seviyan kesari, vermicelli kesari – easy sweet recipe made with basic pantry ingredients!
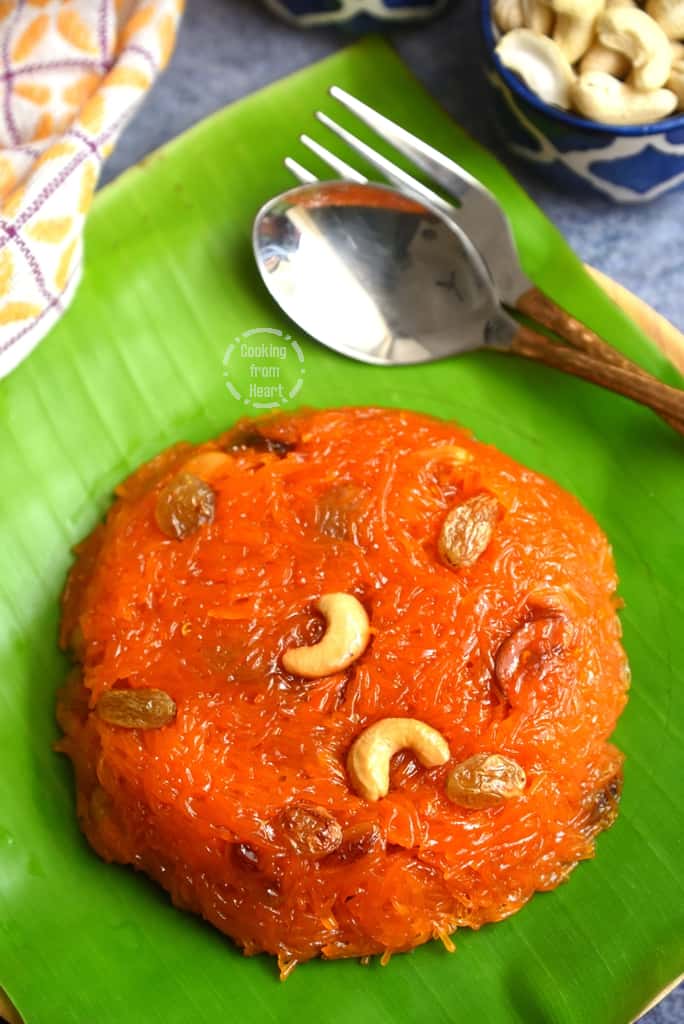
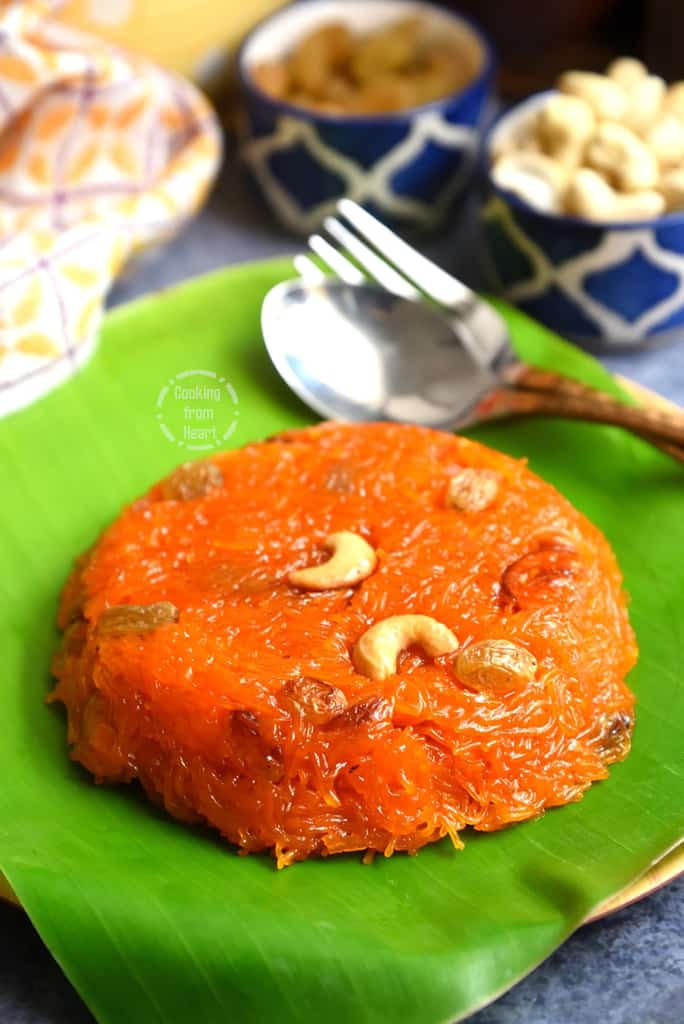
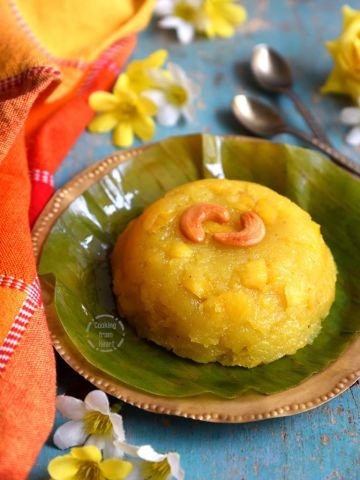
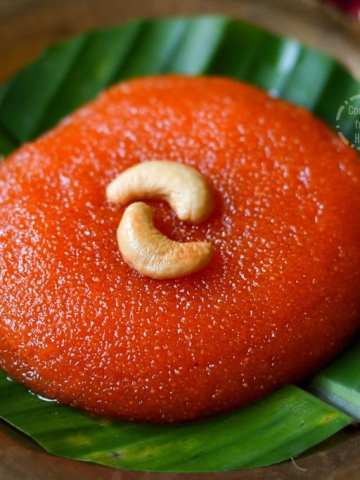
Semiya Kesari is a super simple, quick dessert recipe that’s quite delicious too. As the name suggests, Kesari is a south Indian style sweet made with Semiya or Vermicelli. It is very similar to the kesari bath that’s made using sooji/semolina but texturally quite different. It takes less than 30-minutes to make it from scratch and can be a crowd-pleaser too!
Jump to:
Although Vermicelli Kesari is very simple and quick to make, there are some key points to be considered else the sweet will be ruined. From the quantity of the sugar to how long the semiya is cooked, everything is important to make a perfect semya kesari bath recipe. Having made this many times in the past (and failing while learning) I have shared everything I know about this recipe, do check out the tips section for more details.
Ingredients
Semiya or Vermicelli is the main ingredient for making the semiya kesari recipe. I have used thin, long variety of vermicelli as I don’t like the thick, short variety that leaves a strong floury after-taste.
Sugar is the sweetener used for this dessert recipe and can easily be substituted with brown sugar, cane sugar or jaggery also.
Ghee is added for flavor and taste, makes the kesari non-sticky too.
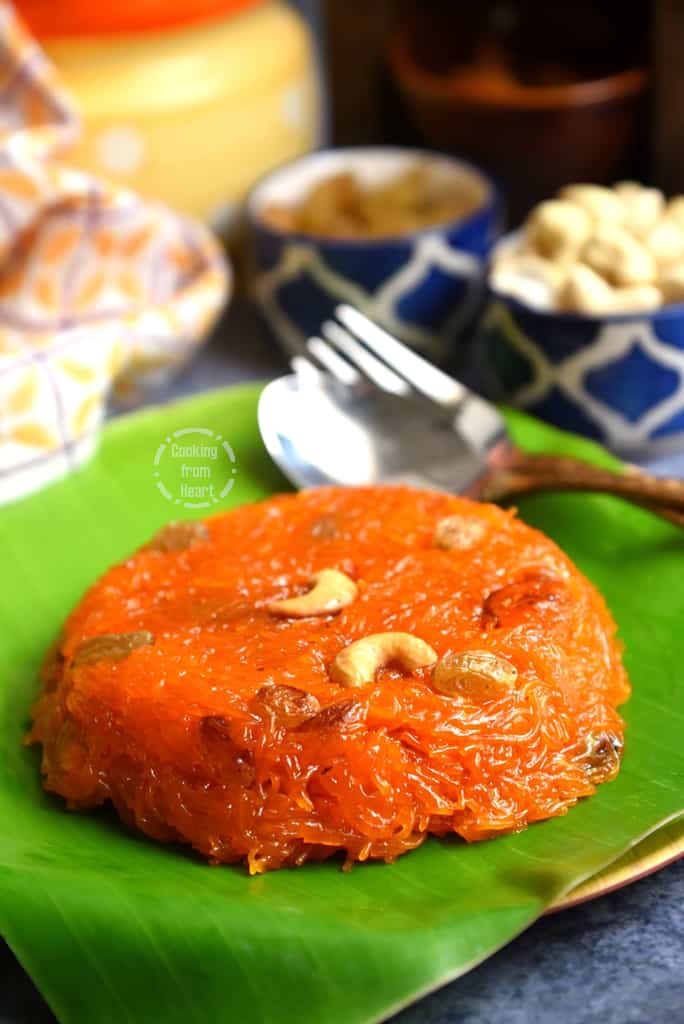
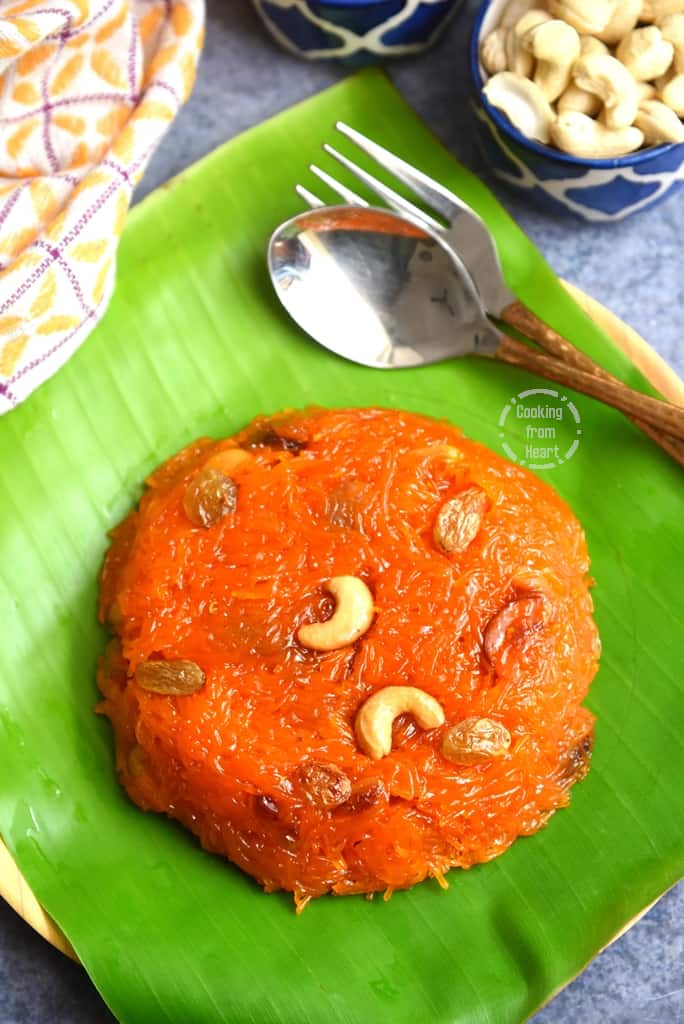
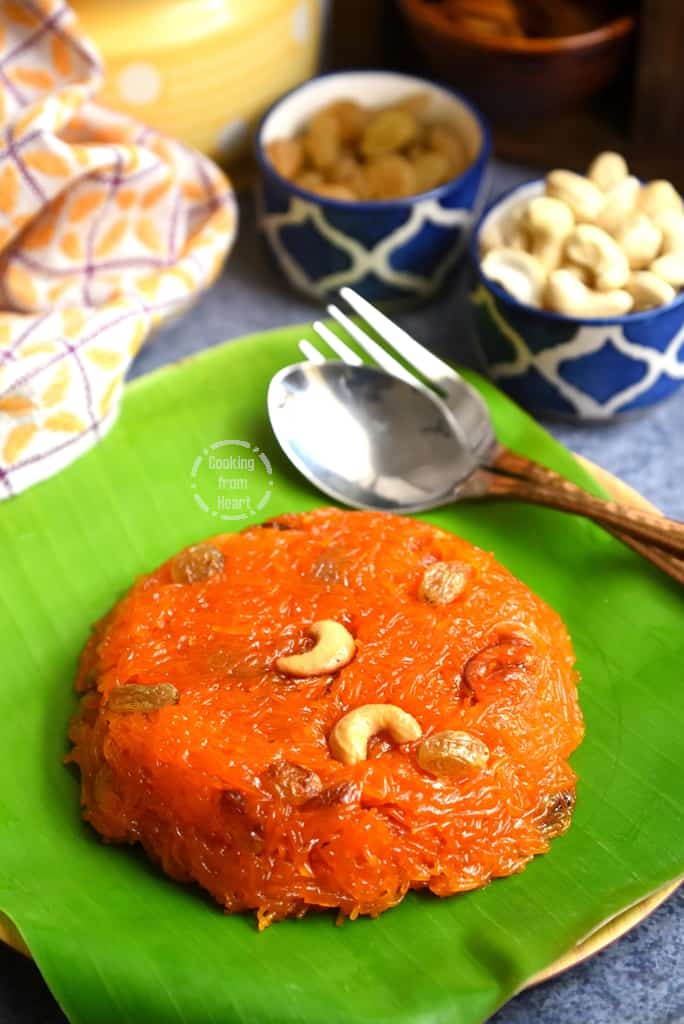
Cashews & Raisins add to the crunch, texture and taste, used as garnish on the vermicelli kesari.
For full list of ingredients and exact measurements, check the recipe below.
Step by Step Instructions
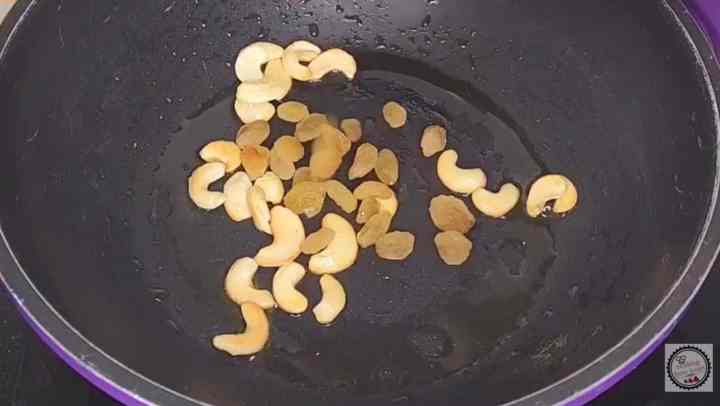
In a heavy or non-stick pan heat 1 teaspoon ghee. Add 8-10 cashews and 8-10 raisins. Roast until cashews are golden and raisins are puffed up. Remove and set aside.
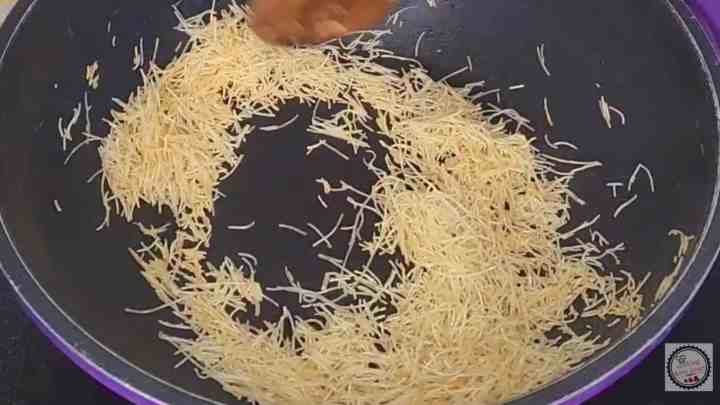
In the same pan add ½ cup semiya/vermicelli. Roast on low flame until the semiya is fragrant, light brown in color. Remove and set aside.
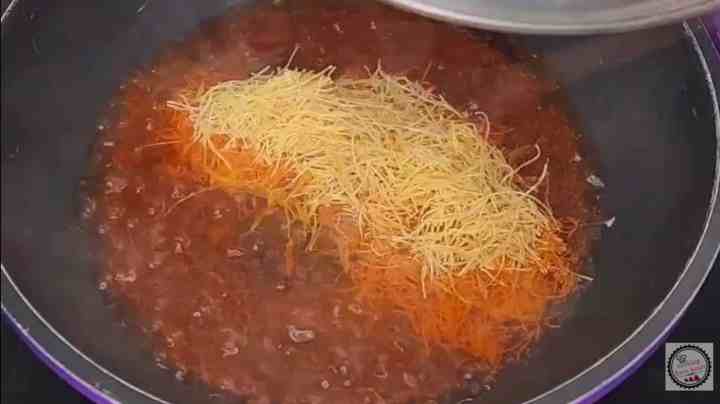
Heat 1.5 cups of water and add ⅛ teaspoon of orange red food color (optional).

As the water begins to boil add 1 teaspoon ghee and then add the roasted semiya/vermicelli.
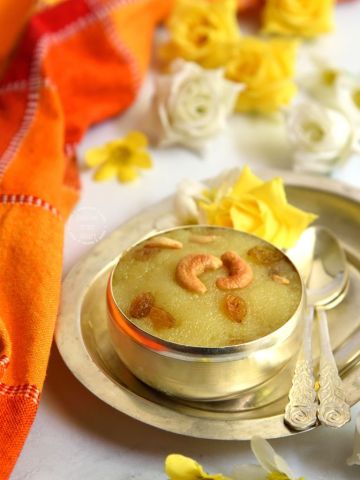
Cook covered on low flame for 8-9 minutes.
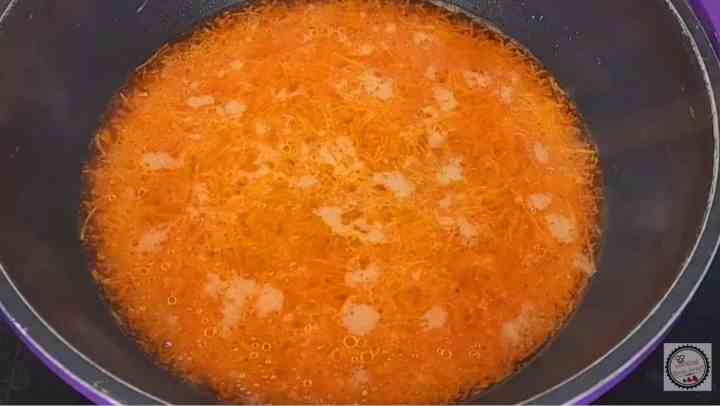
The water should almost be gone. Semiya should be soft and break when pressed. If it doesn’t, cook little longer.
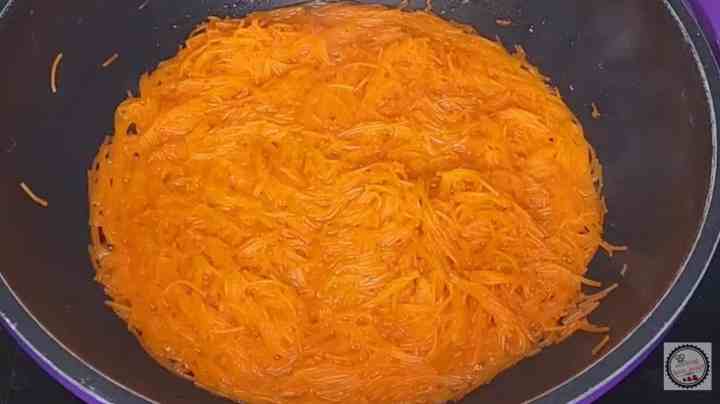
Add ½ cup sugar and mix well.
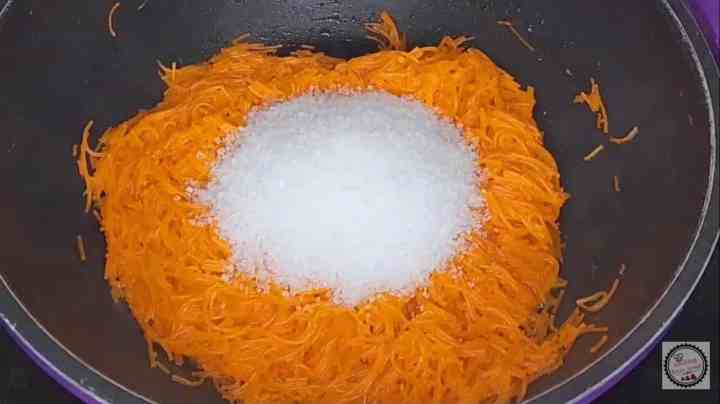
The mixture will turn runny again. Add ¼ teaspoon cardamom powder.
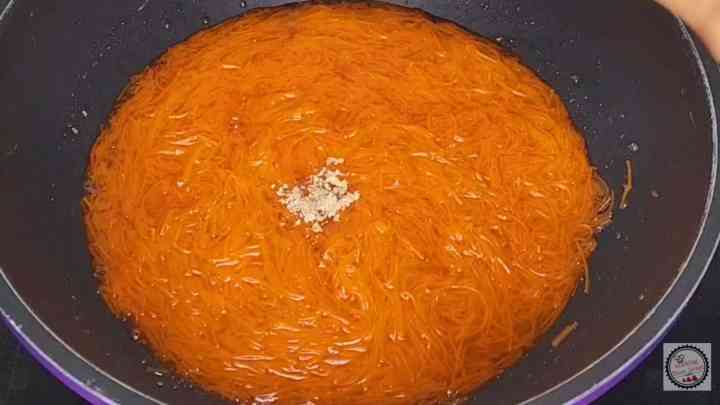
Continue cooking on low flame for another 7-8 minutes. Add 1 teaspoon ghee in between.

As the semiya starts to leave the sides and makes a clear streak when swiped across, remove it from heat.
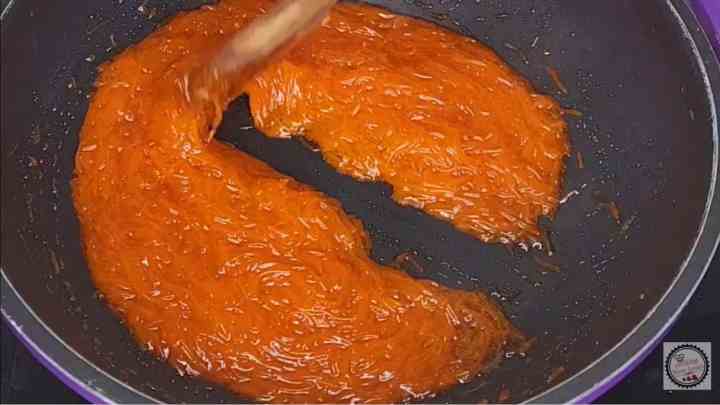
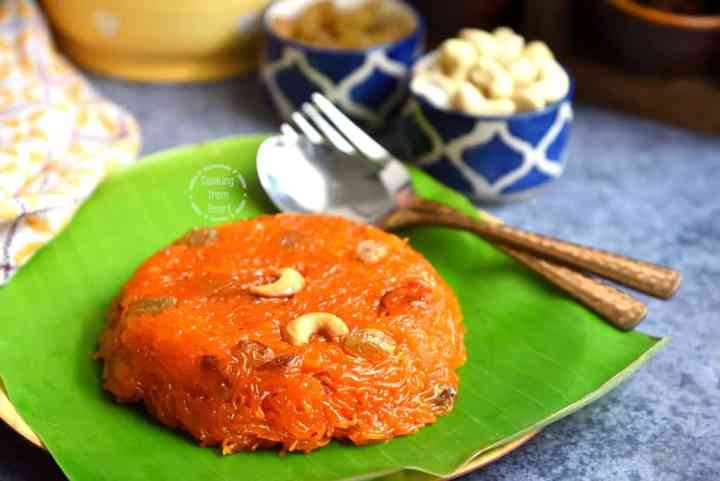
It would look slightly runny, but will solidify on cooling down and get to the right consistency. Garnish with roasted cashews and raisins.

Serve hot/warm immediately.
Recipe Notes
- Semiya to water ratio is 1:3 to cook the semiya perfectly.
- Choice of using food color (powder or liquid) is optional and any color of your preference can be used.
- Adjust the quantity of sugar depending on sweet preference.
- Semiya Kesari tastes better with thin variety of semiya – I used Anil brand (not sponsored)
Top Tip
Roasting the semiya/vermicelli until light golden brown in little ghee ensures that the semiya remains non-sticky when cooked.
Add 3 parts water for each part of semiya and cooking the semiya to the right consistency is absolutely must, if you do not want chewy or hard kesari. If sugar is added before the semiya is cooked, it turns the kesari very hard. Overcooking the semiya will make the kesari chewy.
It is important to stop cooking the kesari the moment it starts leaving the sides of the pan and a clear streak is formed when swiped across using a ladle. It makes the kesari soft and non-sticky once it cools down to room temperature. If you cook it any further, it makes the kesari very hard too and loses the shine/sheen.
Substitutions & Variations
Any variety of semiya/vermicelli can be used for making the kesari. Alternatively, you can use half semolina/sojji and half semiya too.
Using food color is optional and can be substituted with saffron strands/kesar for color if preferred.
I used white sugar as the sweetener but can be replaced with brown or cane sugar too. You can also use jaggery if preferred. Reduce the quantity of sugar by 1-2 tablespoon for a less sweeter kesari.
Storage & Serving Suggestions
Semiya Kesari tastes best when served hot/warm. It stays good refrigerated for over two days. Although the texture and consistency changes when it gets to room temperature, it can easily be reheated in a microwave or over the stove top. Just sprinkle 1-2 tablespoon of water and cook on low flame or in small bursts until it is shiny and soft again.
Video Recipe
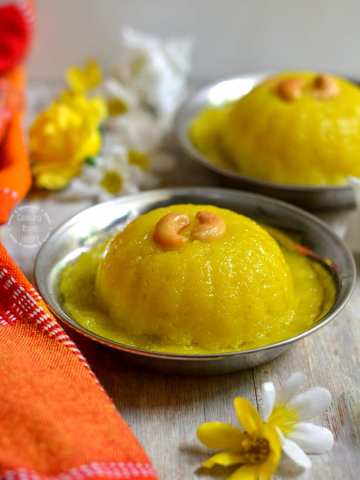
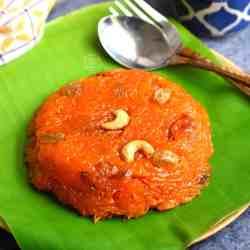
More Kesari Recipes
I would be delighted to know if you have tried this recipe, don’t forget to provide your rating for this recipe and do share your comments below. If you have any questions, you can always e-mail me! I am also available on Facebook, Pinterest, Instagram and Twitter 🙂
📖 Recipe
Semiya Kesari | Vermicelli Kesari
Equipment
- Non-stick Pan
MEASUREMENT
1 cup = 250ml, 1 tablespoon = 15ml, 1 teaspoon = 5ml
Ingredients
- ½ cup Semiya/Vermicelli
- ½ cup Sugar
- 1.5 cups Water
- 3 teaspoon Ghee
- 8-10 Cashews
- 8-10 Raisins
- ¼ teaspoon Cardamom Powder
- ⅛ teaspoon Orange Red Food Color optional
Instructions
- In a heavy or non-stick pan heat 1 teaspoon ghee. Add 8-10 cashews and 8-10 raisins. Roast until cashews are golden and raisins are puffed up. Remove and set aside.
- In the same pan add ½ cup semiya/vermicelli. Roast on low flame until the semiya is fragrant, light brown in color. Remove and set aside.
- Heat 1.5 cups of water and add ⅛ teaspoon of orange red food color (optional).
- As the water begins to boil add 1 teaspoon ghee and then add the roasted semiya/vermicelli.
- Cook covered on low flame for 8-9 minutes.
- The water should almost be gone. Semiya should be soft and break when pressed. If it doesn’t, cook little longer.
- Add ½ cup sugar and mix well.
- The mixture will turn runny again.
- Continue cooking on low flame for another 7-8 minutes. Add 1 teaspoon ghee in between.
- As the semiya starts to leave the sides and makes a clear streak when swiped across, remove it from heat.
- It would look slightly runny, but will solidify on cooling down and get to the right consistency. Garnish with roasted cashews and raisins.
- Serve hot/warm immediately.
Notes
- Semiya to water ratio is 1:3 to cook the semiya perfectly.
- Choice of using food color (powder or liquid) is optional and any color of your preference can be used.
- Adjust the quantity of sugar depending on sweet preference.
- Semiya Kesari tastes better with thin variety of semiya – I used Anil brand (not sponsored)


Vijay
Thx u for sharing your tasty recipe
Ramya
You are most welcome 🙂