
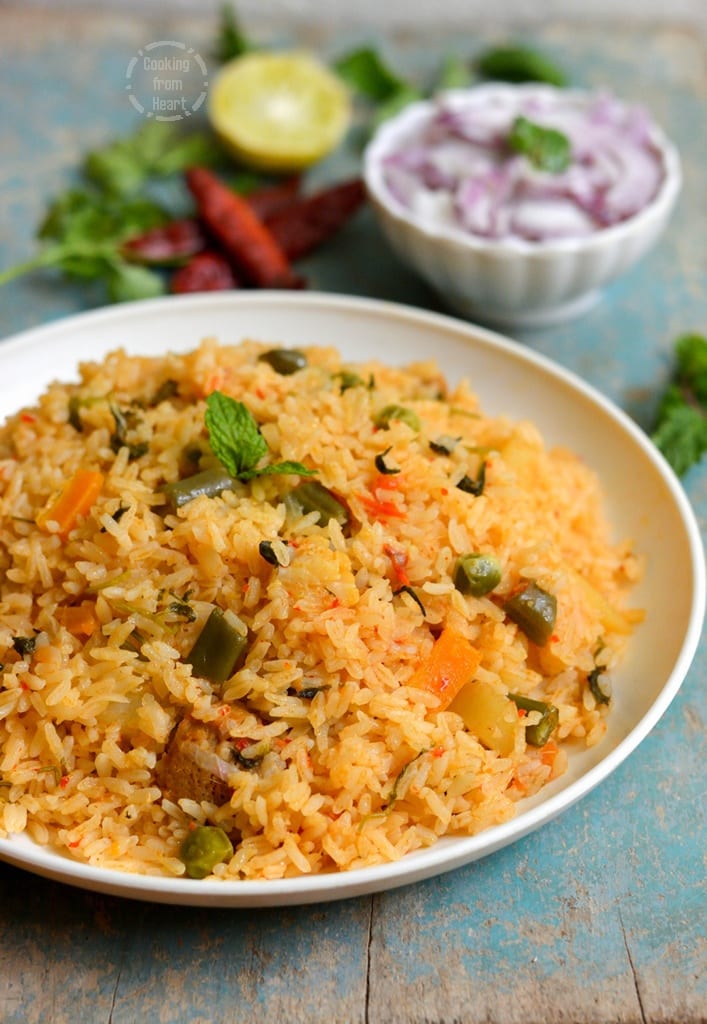
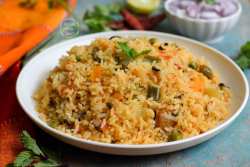
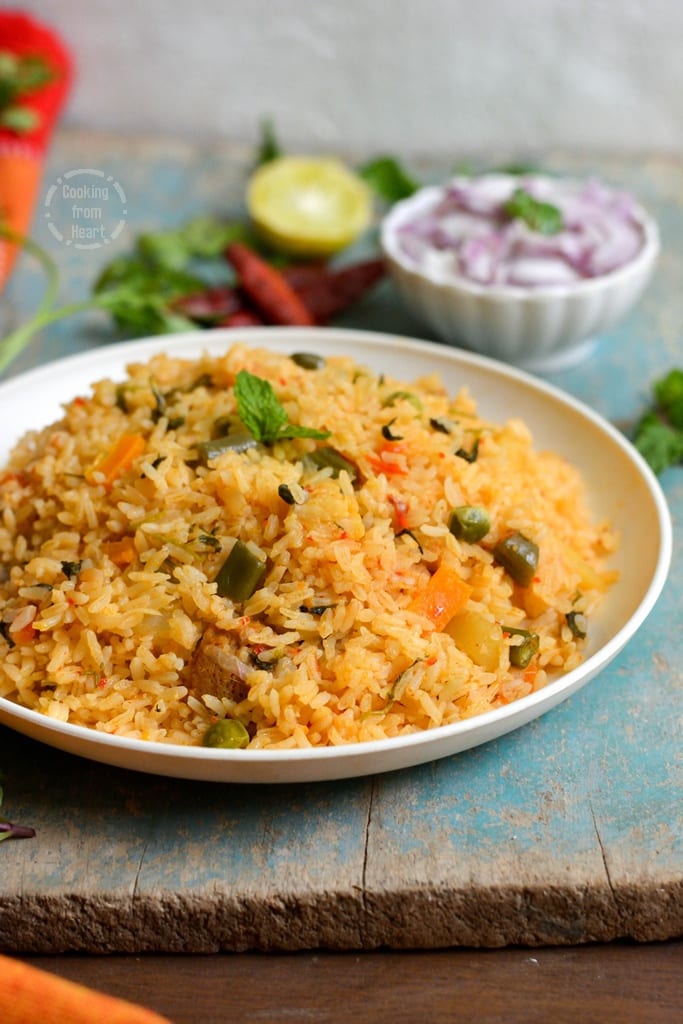
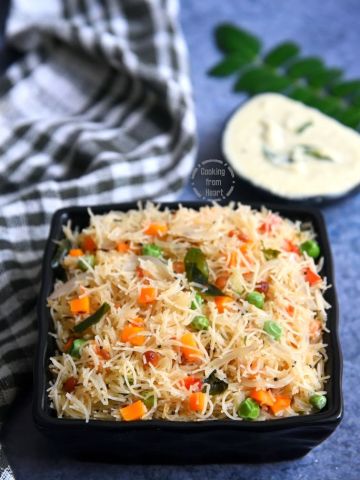
Ambur Dum Biriyani, make the most delicious Ambur style vegetable biriyani with this easy recipe that includes step-wise pictures. Copy-cat veg version of the popular Ambur Star Briyani recipe.
I am back with another Biriyani recipe and it is none other than Ambur Dum Biryani loaded with veggies. For another hailing from Tamilnadu, the word Biriyani is just a little more than food and it is an emotion. Literally eyes light up on hearing or seeing Biriyani and there is nothing better than a well-made Biryani. I have already shared a lot of vegetable, mushroom and egg biriyani recipes here. Our Sunday lunch ritual usually involves making one of the biriyanis, onion raita and an egg roast. As much as it is easier to make this one-pot meal, it is most delicious too.
A couple of weeks back, when I was deciding on Sunday lunch, I wanted to try a new biriyani recipe and the husband suggested that I should try replicating Ambur Star Briyani recipe just like the famous Thalappakatti Veg Biriyani. I adapted this recipe from Ambur Mutton Dum Biriyani recipe and made a veg version of Ambur Dum Biriyani. I should say that this recipe is a keeper, it is closest to the authentic Ambur style dum biryani we have tasted enroute to Chennai.
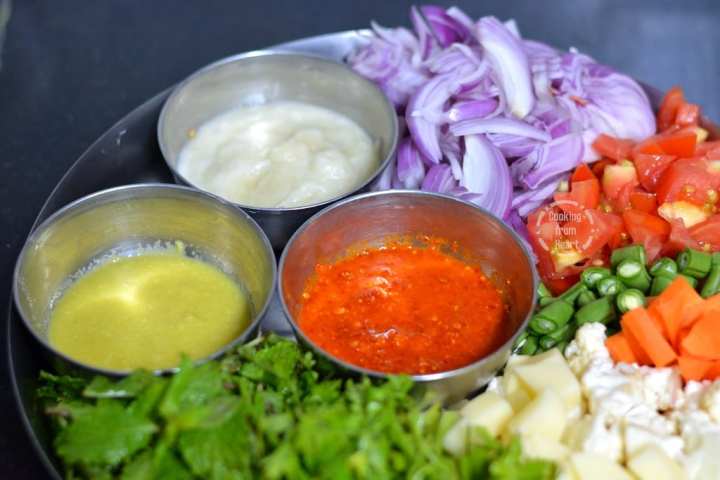
You know what makes this Ambur Dum Biriyani special and different from the other recipes? Its use of whole spices and three pastes – red chillies, garlic and ginger. In this recipe, there are not a lot of other spices used and I should say that this is much lighter compared to other Biriyanis. Most importantly, there are no green chillies. Also, oil is used not ghee/clarified butter. That said, it is in no way any less fragrant or delicious!
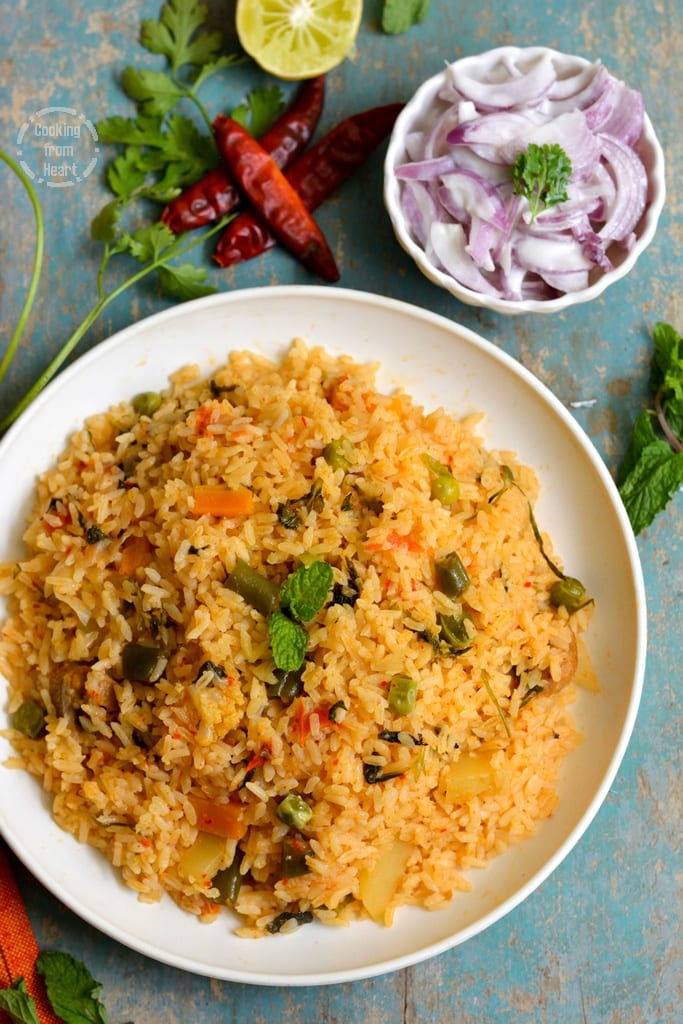
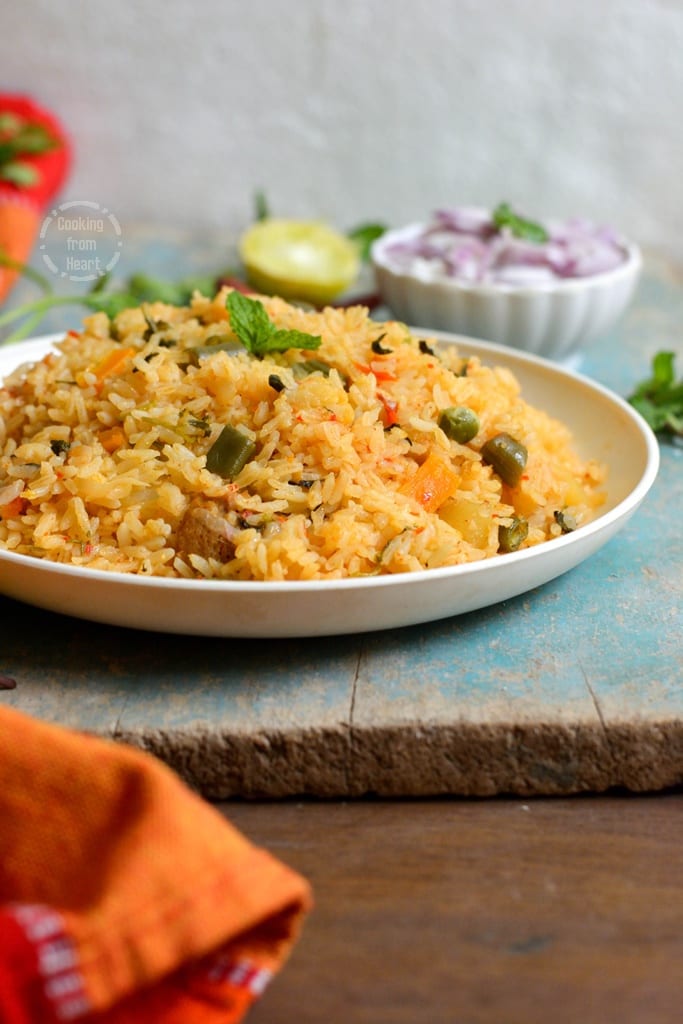
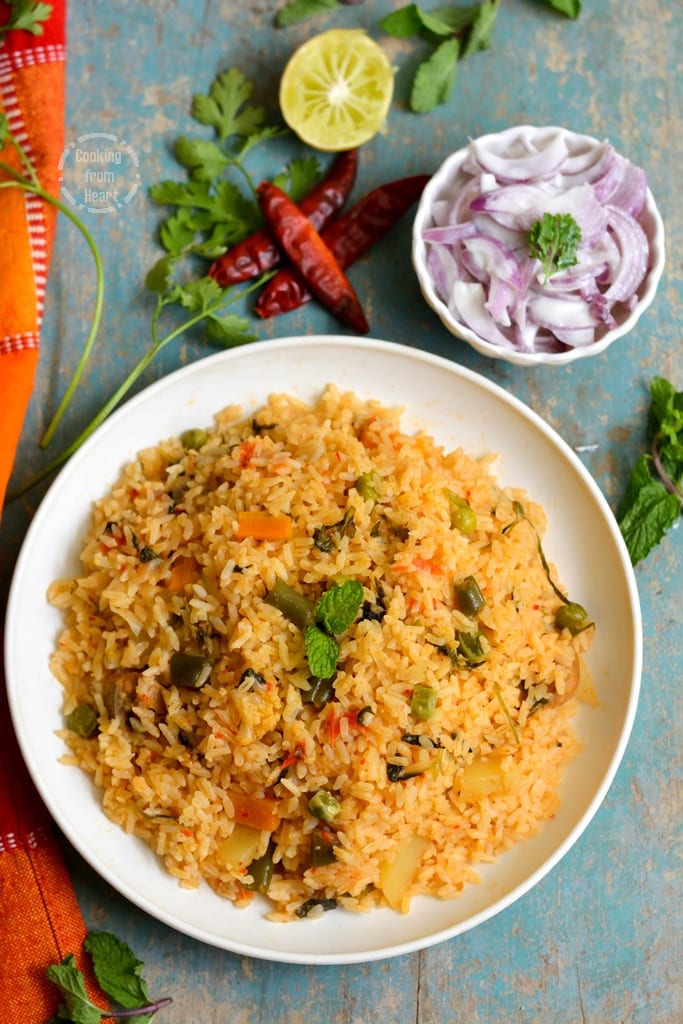
So making Veg Ambur Dum Biriyani was very easy once the prep-work is done. I made this biryani in pressure cooker, so it is quick and easy. I used the popular biriyani rice variety from Tamilnadu called Seeraga Samba – it has a shorter grain and it super fragrant, it elevates the whole biriyani experience. When you make this copy-cat version of Ambur Star Briyani, you should serve it with onion raita and special brinjal gravy. I served some Egg Roast along with this for our Sunday lunch and it was super hit, even if I say so myself.
The dum process in this recipe is quite different from the other biryani recipes – there are layers. Rice is cooked until it is half cooked and then mixed over with the vegetable gravy. It is then put on dum by letting it steam over low flame. Traditionally this is cooked over wood fire and coals. At home, the easiest way to do this is to set the pressure cooker/pan on iron pan that’s on low flame. Alternatively, it could also be set in an oven.
How to make Ambur Dum Vegetable Biriyani | Ambur Star Briyani Recipe
📖 Recipe
Ambur Dum Vegetable Biriyani
MEASUREMENT
1 cup = 250ml, 1 tablespoon = 15ml, 1 teaspoon = 5ml
Ingredients
For Biriyani Masala Gravy –
- 1 cup Finely Sliced Onions
- ½ cup Finely Chopped Tomatoes
- 2 cups Cut Vegetables (Carrots, French Beans, Potatoes, Cauliflower and Green Peas)
- ½ cup Curd/Plain Yogurt
- ¼ cup Oil
- 3 tablespoon Garlic Paste
- 3 tablespoon Ginger Paste
- 3 tablespoon Red Chilli Paste
- 3 Cloves
- 2 Cinnamon Sticks
- 2 Green Cardamoms
- ⅓ cup Fresh Coriander Leaves Chopped
- ⅓ cup Fresh Mint Leaves Chopped
- ¾ cup Water
- Juice of ½ Lime
- Salt as needed
- 10-12 Soya Chunks/Meal-maker optional
- ½ teaspoon Red Chilli Powder optional
For Biriyani Rice –
- 2 cups Seeraga Samba Rice
- Salt as needed
- Water as needed
Instructions
- First soak the rice in enough water for 20-30 mins.
- In a pressure cooker, heat oil. Add cloves, cardamom, cinnamon and let them splutter.
- Next add garlic paste and fry until there is no raw smell. Add ginger paste and cook it until there is no raw smell.
- Now add sliced onions and red chilli paste. Cook until the onions are translucent and the red chilli paste is cooked.
- Add chopped vegetables, tomatoes and add salt as needed, cook for a couple of minutes.
- Next add plain yogurt/curd, lime juice and salt as needed.
- Add chopped coriander and mint leaves. Cook for a couple of minutes.
- If using meal-maker/soya chunks, add them along with fresh green peas. I added extra ½ teaspoon of red chilli powder as I felt that it was not as spicy. It is optional.
- Pour over ¾ cup of water, mix well and close the pressure cooker. Cook for one whistle only and let the pressure subside naturally before opening it up.
- Meanwhile, bring a large pot of water to rolling boil. Add salt as needed for cooking rice. Add the soaked rice. Cook covered for 7-10 mins on medium flame.
- When the rice is more than half cooked, drain off excess water. Add the rice to the cooked biriyani masala. Mix well and close off the lid.
- Put it on dum by placing the cooker on an iron pan set on low flame. Let it be on dum for 10-15 mins.
- Gently fluff up the rice. Serve hot with onion raita.
Detailed step-wise picture recipe of making Ambur Dum Vegetable Biriyani | Ambur Star Briyani Recipe
1. First soak the rice in enough water for 20-30 mins.

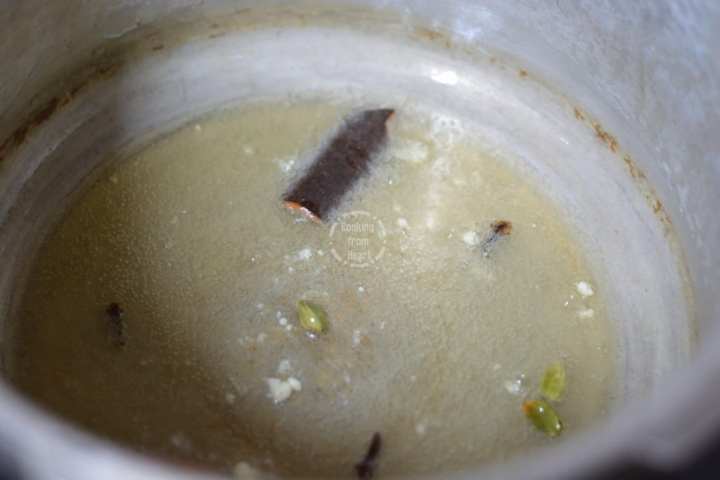
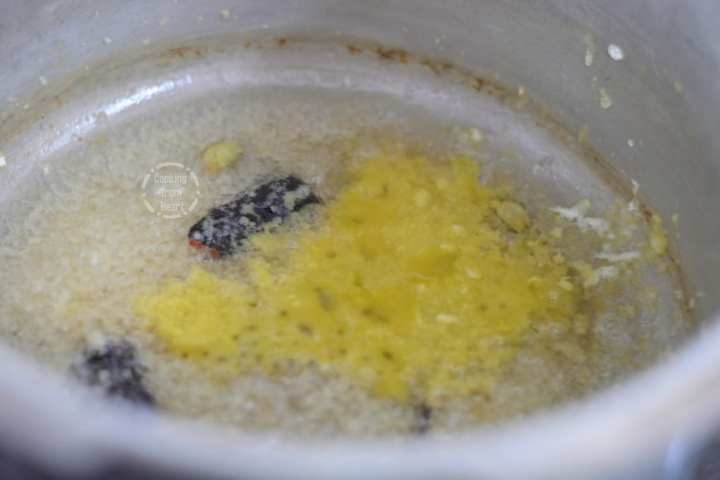
2. In a pressure cooker, heat oil. Add cloves, cardamom, cinnamon and let them splutter.
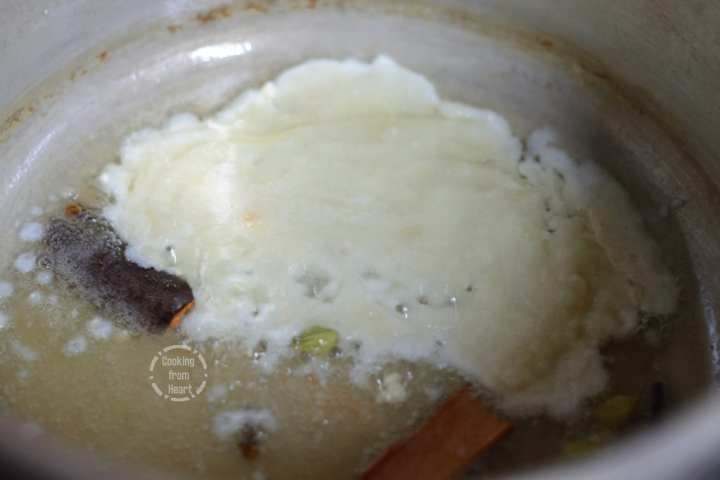
3. Next add garlic paste and fry until there is no raw smell.
4. Add ginger paste and cook it until there is no raw smell.
5. Now add sliced onions and red chilli paste. Cook until the onions are translucent and the red chilli paste is cooked.

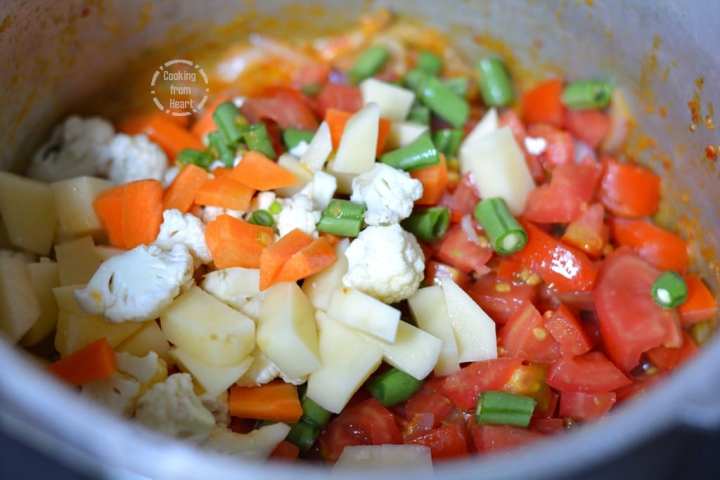
6. Add chopped vegetables, tomatoes and add salt as needed, cook for a couple of minutes.
7. Next add plain yogurt/curd, lime juice and salt as needed.
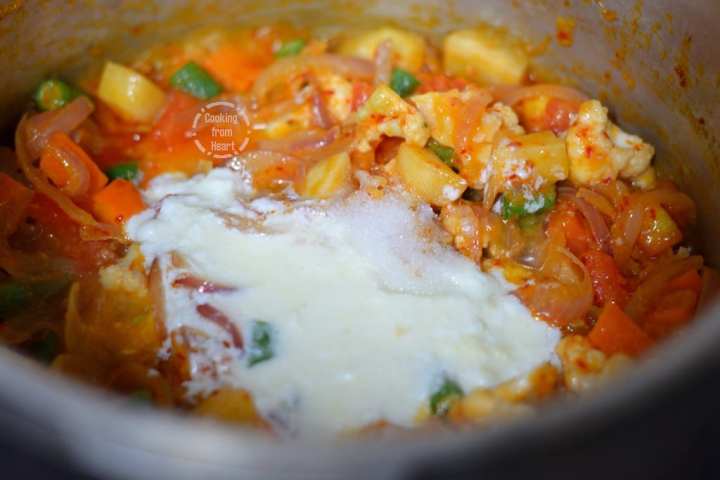
8. Add chopped coriander and mint leaves. Cook for a couple of minutes.

9. If using meal-maker/soya chunks, add them along with fresh green peas.
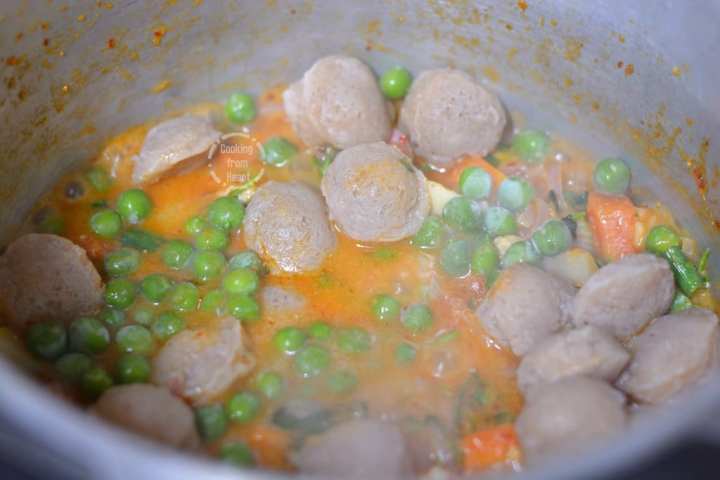
10. I added extra ½ teaspoon of red chilli powder as I felt that it was not as spicy. It is optional.
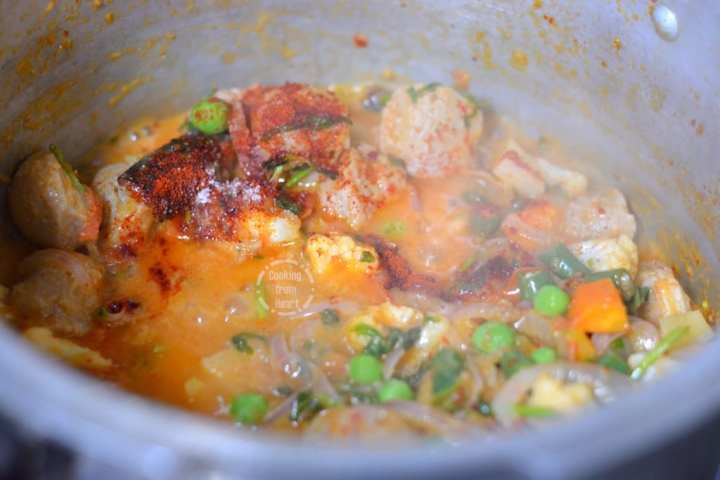
11. Pour over ¾ cup of water, mix well and close the pressure cooker.
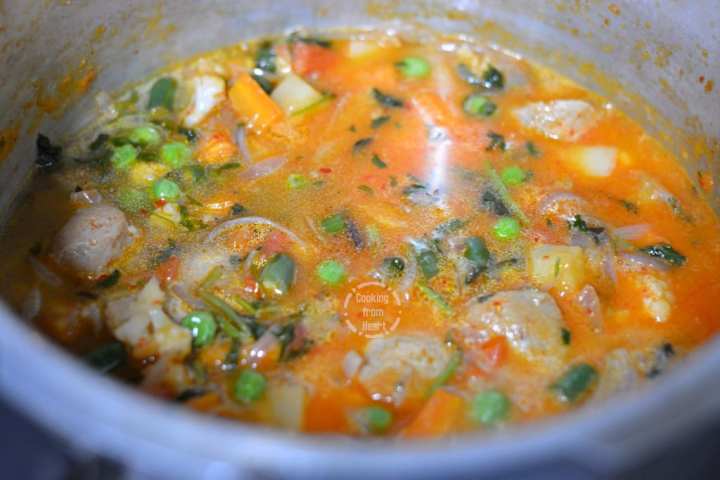
12. Cook for one whistle only and let the pressure subside naturally before opening it up.

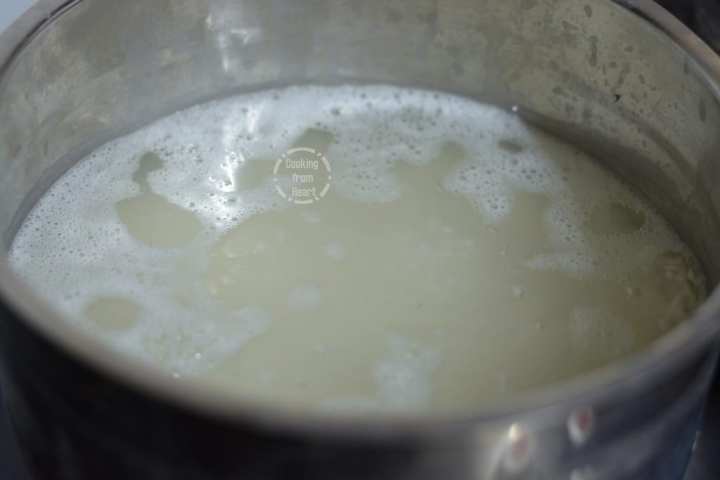
13. Meanwhile, bring a large pot of water to rolling boil. Add salt as needed for cooking rice. Add the soaked rice. Cook covered for 7-10 mins on medium flame.
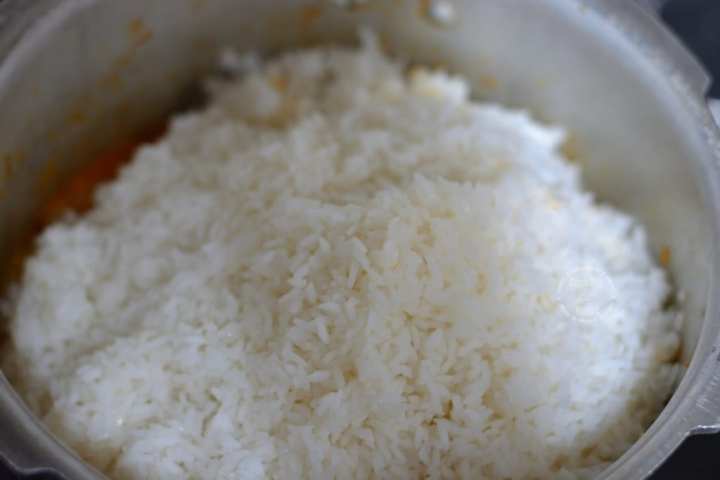
14. When the rice is more than half cooked, drain off excess water.

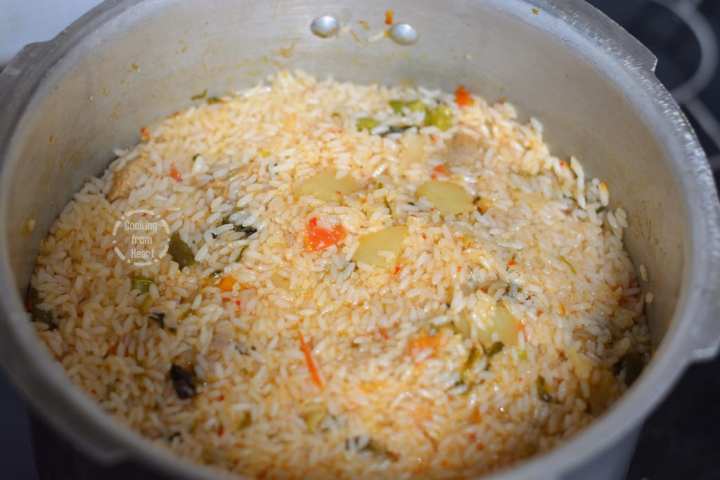
15. Add the rice to the cooked biriyani masala.
16. Mix well and close off the lid.
17. Put it on dum by placing the cooker on an iron pan set on low flame. Let it be on dum for 10-15 mins.
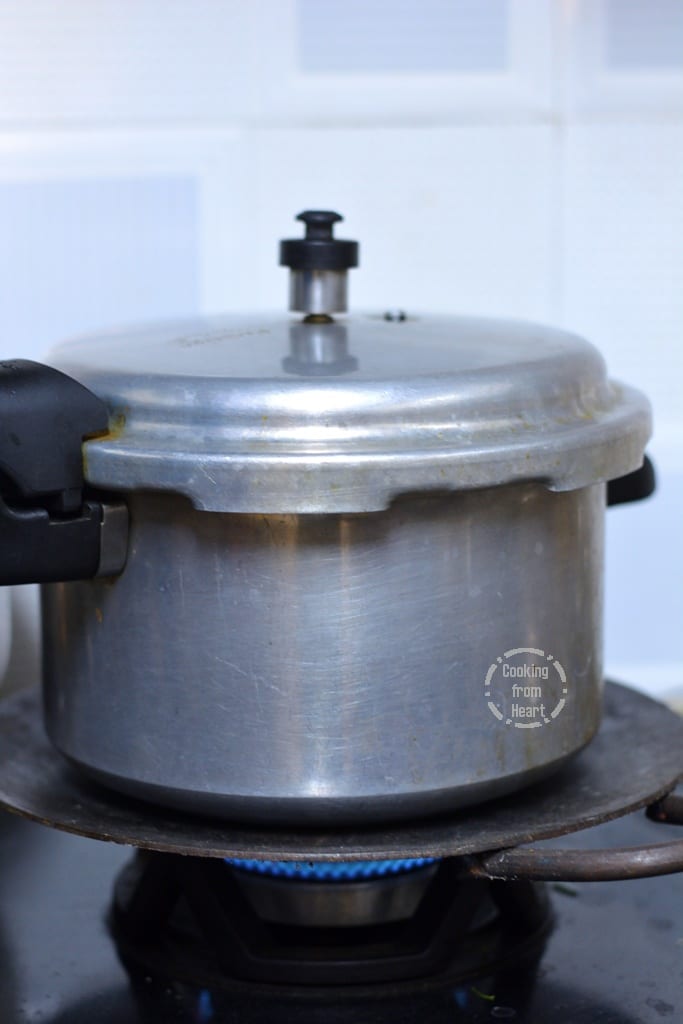
18. Gently fluff up the rice.
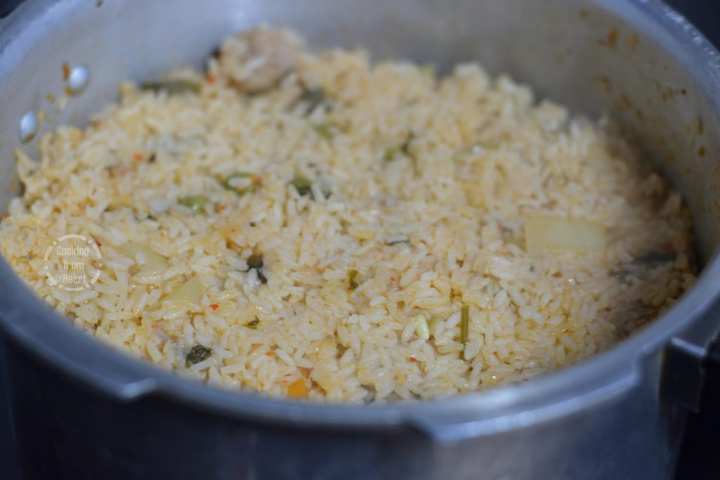
19. Serve hot with onion raita.
Recipe Notes
- Adjust spices as per preference.
- For dum process, you can also use oven. Set the pan at 170°C for 20-30 mins.
I would be delighted to know if you have tried this recipe, don’t forget to share your feedback and comments below. If you have any questions, you can e-mail me! I am also available on Facebook, Pinterest, Instagram and Twitter 🙂
Ai
Oh my goodness, your biryani looks and sounds delicious! Fried rice is such a comfort food for me; something my grandmother made for me. I love that you've used whole spices and pastes! Yum! Thanks for sharing!
The Girl Next Door
Wow, this looks so good! I've never tried out Ambur-style biryani, and now you tempt me to make this asap. 🙂
FrugalHausfrau
Oh my gosh, I'm blown away by that beautiful, fluffy rice!! Thanks for bringing this very special dish to Fiesta Friday!
Mollie