
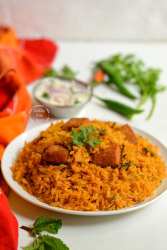
Quick, simple and extremely flavorful Brinji recipe with step-wise pictures. Brinji Rice or Brinji Saadam is an easy one-pot dish perfect as Sunday Biriyani.
After a few weeks, I am back with yet another Sunday Biriyani and it is my most favorite Brinji recipe! I have talked about our Sunday biriyani meals and my Amma’s special Vegetable Biriyani that featured on most Sundays. Today I want to talk about Priya Aunty – our beloved neighbor, who generously shared every delicacy she prepared and opened her heart to us. In a close-knit community of multiple ethnicities and regional differences, our neighbors were more than our friends. I miss them all so much today, but I am richer with all experiences and the good memories get me through on days I am down. Anyway, I digress. Priya Aunty used to make Brinji Saadam on most Sundays solely for the reason that she doesn’t have to chop vegetables and she anyway made a meat-based curry. I used to get a special box of her Brinji Rice on Sundays and I would devour it as second lunch.
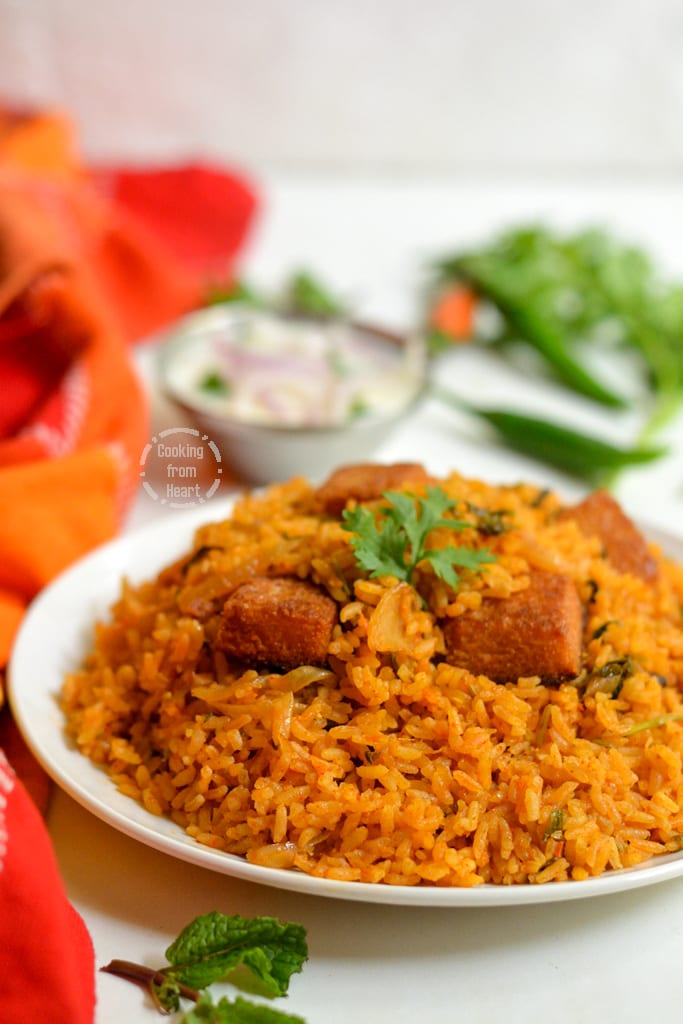
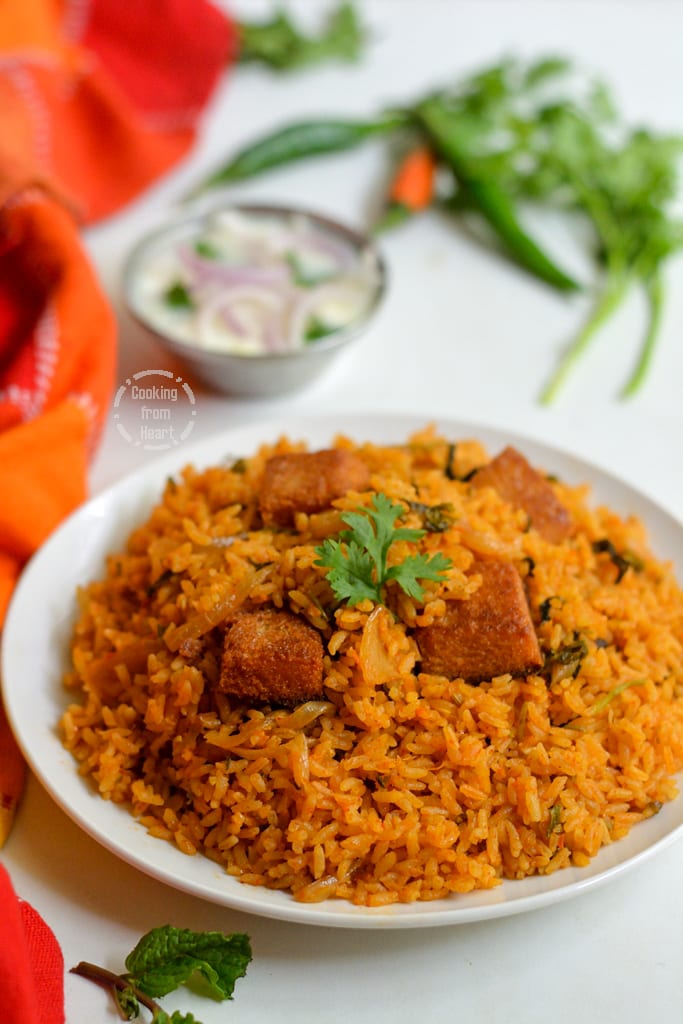
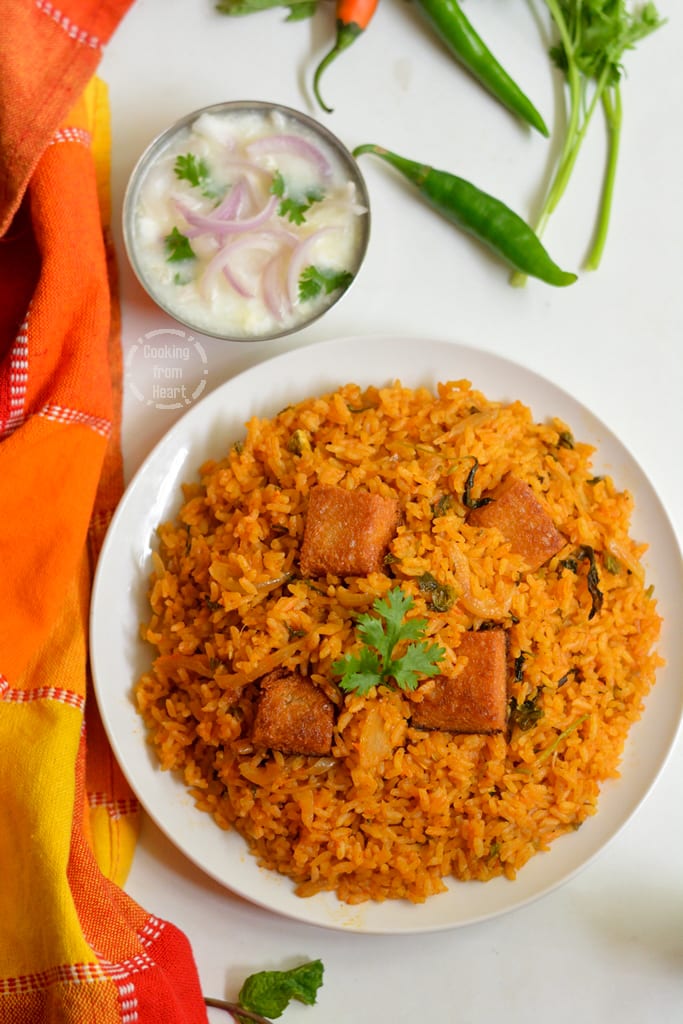
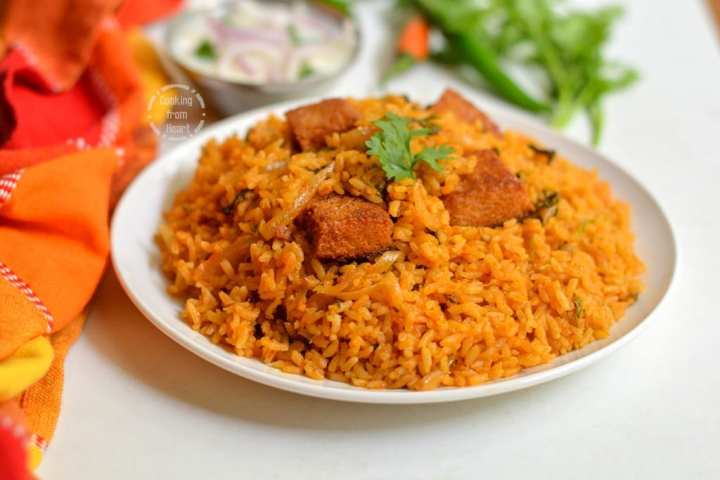
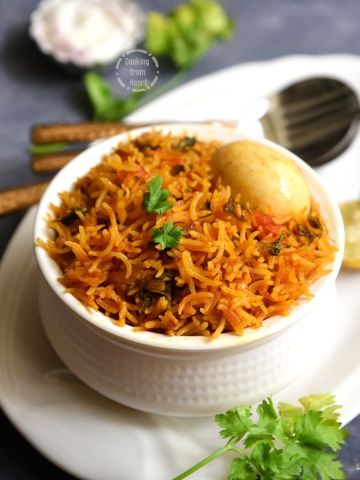
This recipe of Easy Brinji is based on how Priya Aunty used to make all those years ago. I distinctly remember her orange colored rice, wafting a strong aroma of garlic and onions, almost plain except for a few bits of mint and coriander leaves. Amma never used food colors and with the ground mint-coriander-coconut paste, amma’s biriyani was always lighter shade of green. For us kids, the orange colored Brinji was an eye-pleaser. As I got making this recipe over the weekend, I was transported to the good old days and I could almost smell the fragrance of aunty’s brinji from her steel box. I kept checking with amma for references and I tried hard to reproduce it as much as my memory would serve right. I was so pleased with the final outcome that I decided to share the recipe here!
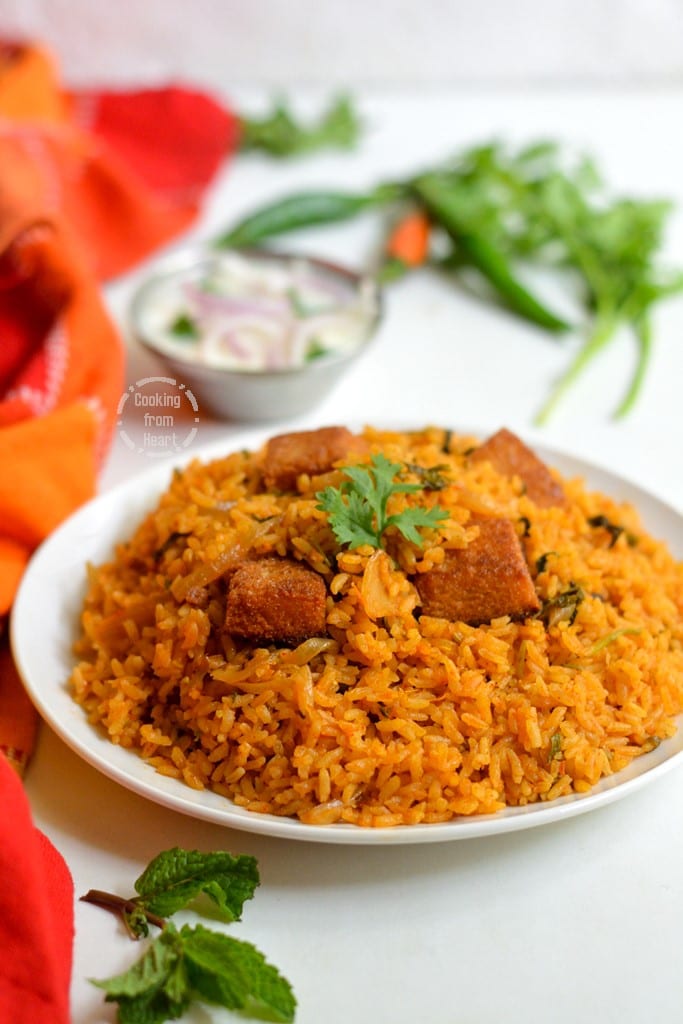
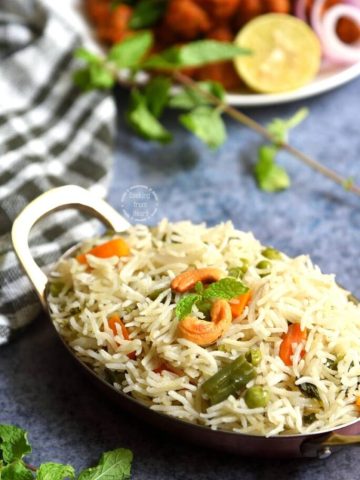
Here is another fun fact – Vegetable brinji featured in every wedding reception in early 2000s in Chennai. Unlike the large number of dishes served in express speed in today’s tamil wedding receptions, Brinji or Kuska was served in every function. In our locality, there were a couple of Biriyani masters who were completely booked for years and their biriyanis were epic! There was something about the super long basmati rice and fried bread pieces, that made every guest happy. For this Brinji recipe, I used my homemade Bread to shallow fry before starting off the rest of the process. I also swapped Basmati rice for the Tamilnadu special Seeraga Samba Rice and I simply loved it! I served it along with a creamy Vegetable Kurma and onion Raita. Perfect Sunday lunch! 🙂
How to make Brinji | Brinji Rice | Brinji Saadam –
📖 Recipe
Brinji | Brinji Rice | Brinji Saadam
Equipment
- Thick Bottomed Kadai/Pan
MEASUREMENT
1 cup = 250ml, 1 tablespoon = 15ml, 1 teaspoon = 5ml
Ingredients
Main Ingredients –
- 1 cup Seeraga Samba Rice/Basmati Rice
- 2 cups Water
- 1.5 tablespoon Oil
- 2 teaspoon Ghee
- 2 Bread Slices Cut into 4-6 squares
- 2 Cloves
- 2 Green Cardamoms
- 2 Inch Cinnamon Piece
- 1 Dried Bay Leaf
- 1-2 Green Chillies Slit
- 2 Medium Onions Sliced
- ¼ cup Coriander Leaves
- ¼ cup Mint Leaves
- 1 tablespoon Curd
- ½ tablespoon Kashmiri Red Chilli Powder
- ¼ teaspoon Turmeric Powder
- ¼ teaspoon Garam Masala Powder
- Salt as needed
To Grind –
- 1 Medium Tomato Roughly Chopped
- ½ teaspoon Fennel Seeds
- 2 Inch Ginger Piece
- 8-10 Garlic Pods
Instructions
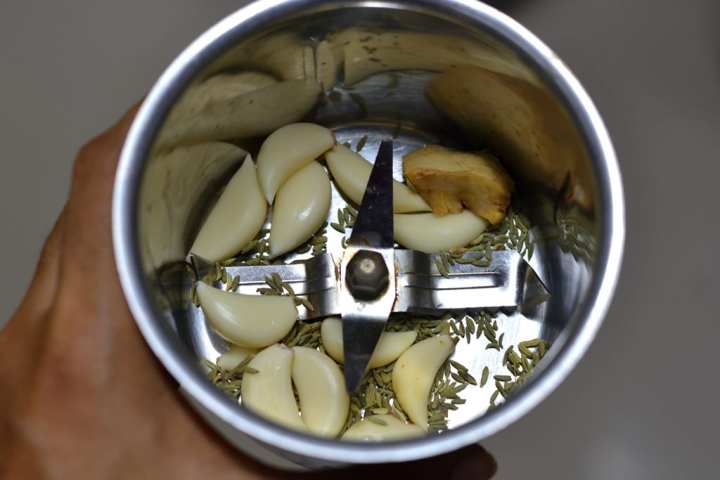
- First soak the rice in water for 15-20 mins. In a blender add fennel seeds, ginger and garlic.
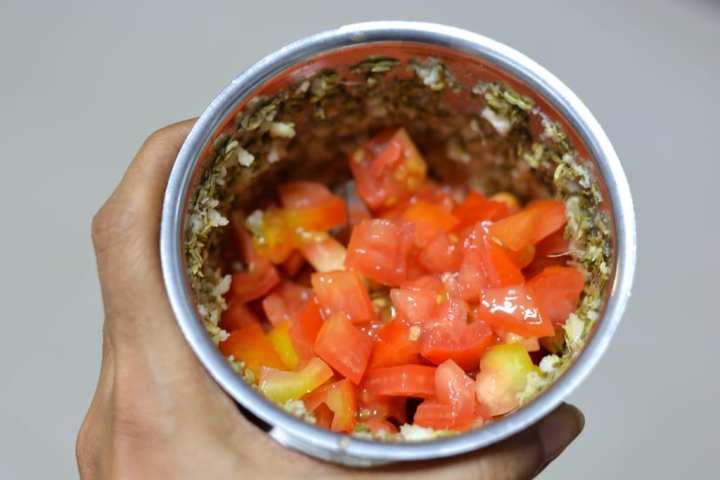
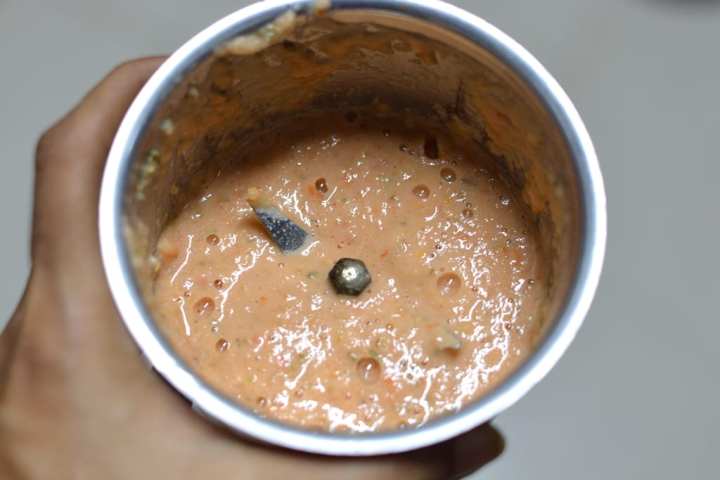
- Grind into a rough paste and then add chopped tomatoes. Grind into a smooth puree, set aside.
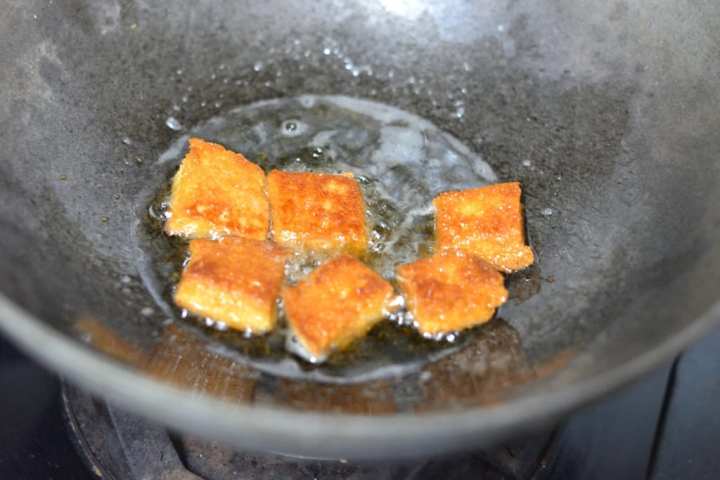
- In a thick bottomed pan heat 1.5 tablespoon oil and 2 teaspoon ghee. Add cubed bread slices and fry until golden brown. Set aside.
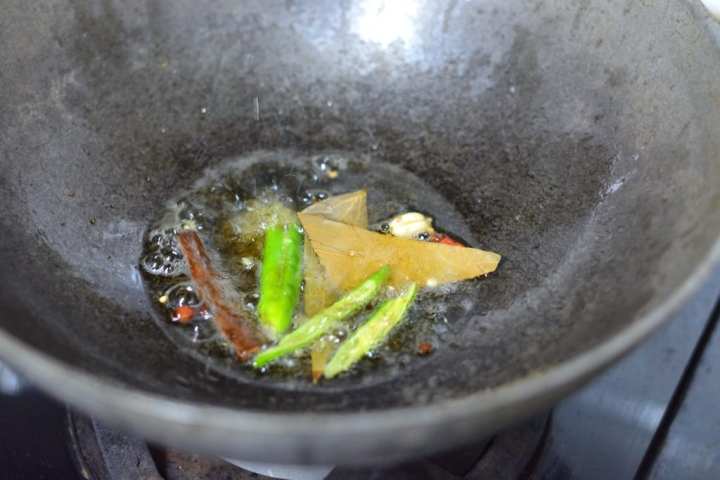
- In the remaining oil add cloves, cardamom, cinnamon piece and dried bay leaf. Add slit green chillies. Fry for a few seconds.
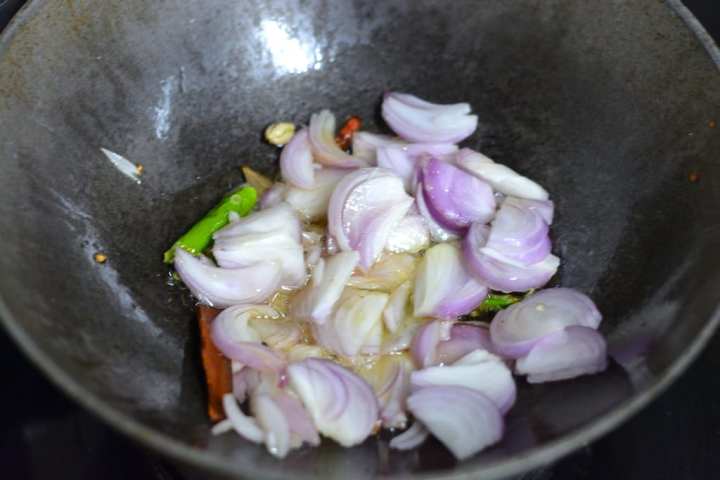
- Now add finely sliced onions. Fry until light golden brown.
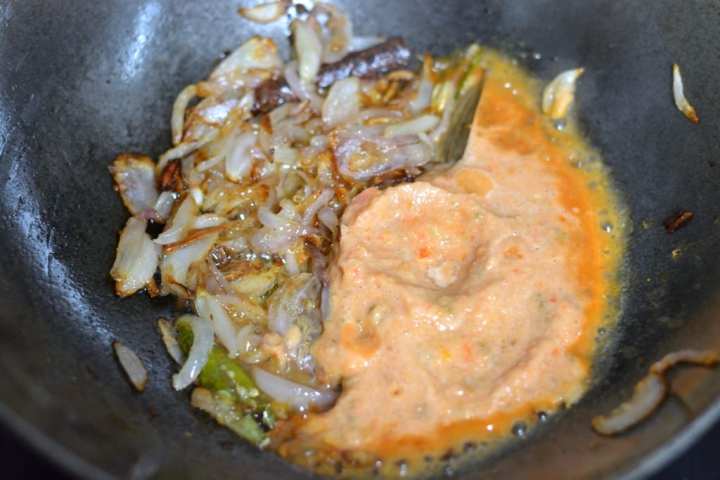
- Add the prepared paste and fry until there is no raw smell.
- As the oil begins to ooze out from the edges, add Kashmiri red chilli powder, turmeric powder and salt as needed.
- Cook until the spice powders are cooked, for a couple of minutes.
- Next add curd and cook for 3-4 mins.
- Now add finely chopped coriander and mint leaves. Cook for a couple of minutes.
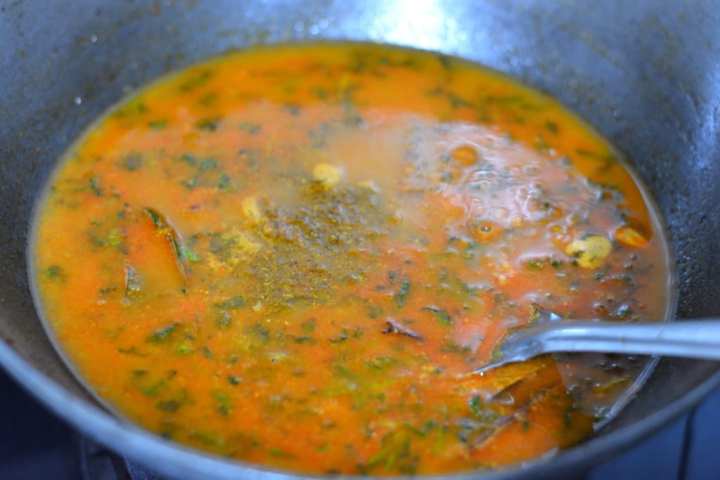
- Add the water used to soak the rice. Bring it to a slow boil.
- Now add garam masala powder and let the water come to a boil. Check for salt and spices.
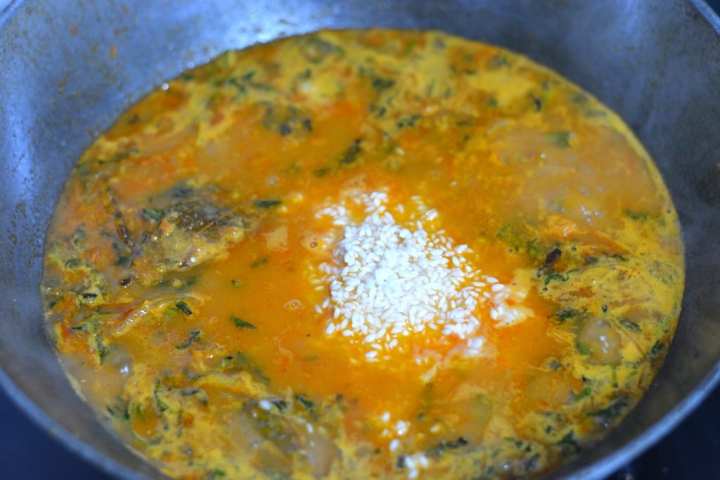
- Add the soaked rice and lower the flame. Mix it well and keep it covered.
- Cook for 10-12 mins on low flame. Remove from heat. Let it stand for 5-7 mins and then gently fluff up the rice. Add fried bread slices on top.
- Serve hot with onion raita and vegetable kuruma.
Nutrition

Detailed step-wise picture recipe of making Brinji | Brinji Rice | Brinji Saadam –
First soak the rice in water for 15-20 mins. In a blender add fennel seeds, ginger and garlic.
Grind into a rough paste and then add chopped tomatoes. Grind into a smooth puree, set aside.
In a thick bottomed pan heat 1.5 tablespoon oil and 2 teaspoon ghee. Add cubed bread slices and fry until golden brown. Set aside.
In the remaining oil add cloves, cardamom, cinnamon piece and dried bay leaf. Add slit green chillies. Fry for a few seconds.
Now add finely sliced onions. Fry until light golden brown.
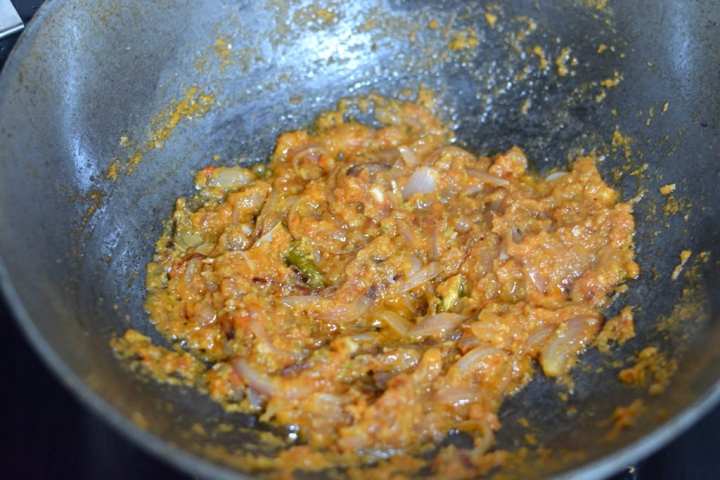
Add the prepared paste and fry until there is no raw smell.
As the oil begins to ooze out from the edges, add Kashmiri red chilli powder, turmeric powder and salt as needed.
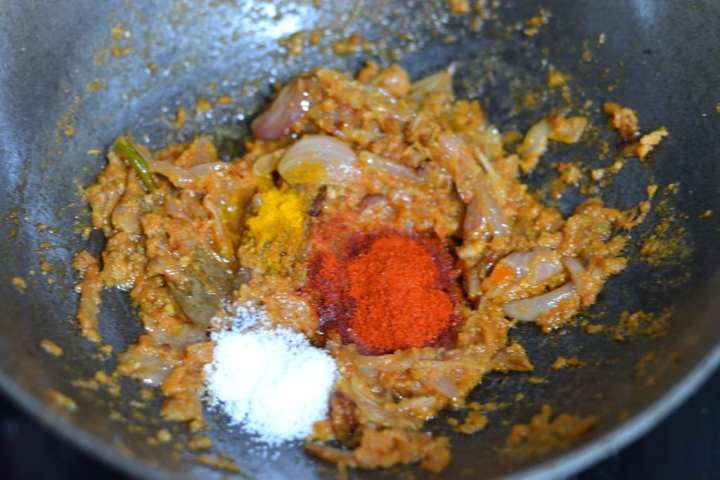
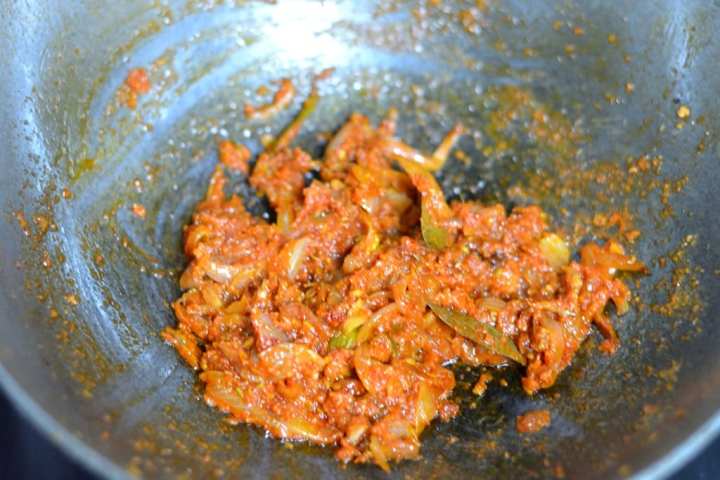
Cook until the spice powders are cooked, for a couple of minutes.
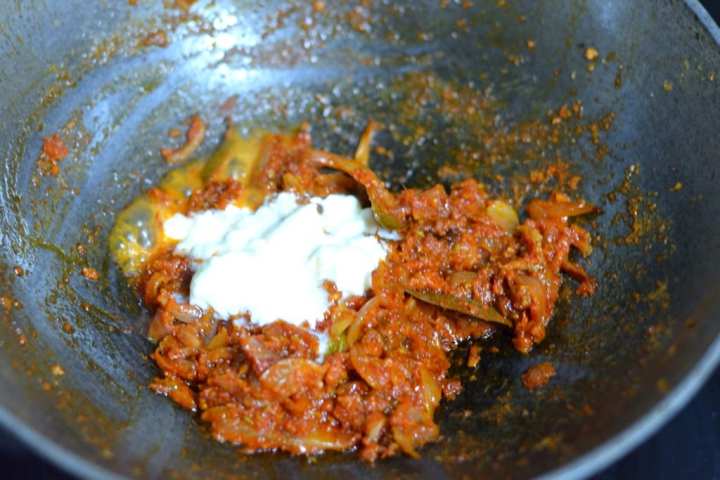
Next add curd and cook for 3-4 mins.
Now add finely chopped coriander and mint leaves. Cook for a couple of minutes.

Add the water used to soak the rice. Bring it to a slow boil.

Now add garam masala powder and let the water come to a boil. Check for salt and spices.
Add the soaked rice and lower the flame. Mix it well and keep it covered.
Cook for 10-12 mins on low flame. Remove from heat. Let it stand for 5-7 mins and then gently fluff up the rice. Add fried bread slices on top.

Serve hot with onion raita and vegetable kuruma.
Note –
- Adding fried bread is optional.
- Adjust spices as per preference.
- If making this in pressure cooker, switch off heat after 1 whistle on low flame.
Reach out to me at [email protected]! Also follow me on:
Facebook – Cooking From Heart
Pinterest – Cookingfromheart
Instagram – Cookingfromheart
Twitter – Cookinfromheart
Leave a Comment