
One of the best and tastiest breakfast recipes from South India – Dosa, learn how to make dosa batter at home. Easy to make crispy dosa at home with step-wise pictures. Tips and Tricks on using cast iron pan for making best dosa for breakfast!
I have shared a lot of breakfast recipes here but idli/dosa rules my world. There is nothing like a filling breakfast to brighten up a day and I really need my share of good carbs to begin my day. Idli is one of the healthiest breakfast items around the world, precisely for the same reason. It has rice and urad dal (lentils), it is steam cooked making it very healthy. I always end up making idli on days I am running late in the morning as it is quick to make too! But on days when I have some time, I would love some crispy dosa and there is nothing like a moru-moru dosa with coconut chutney 🙂
I will always have idli and dosa batter stocked up in my refrigerator, and it definitely makes my life a lot easier during busy work days. I have already shared an easy recipe to make fail-proof super soft idlis at home. Although I have shared a lot of dosa recipes, I have never shared the basic recipe to make crispy dosa and here I am with it at last.
My recent obsession with cast iron made me put all my non-sticks pans to a corner and I have been using my cast iron pan to make crispy dosa. My dosa tawa is made of cast iron and I sourced it locally in Vellore (I’ve a story on this, may be some other day) and it was dirt cheap. Since it was not pre-seasoned, the first thing I did was to wash it with soap and scrub it off. Next I soaked it in starch water (water strained from cooking rice) for about a day. If there is any rust, that would come off with this water. The next step is very crucial. Once the pan is patted dry, rub a thin layer of oil and heat it on low flame for 35-40 mins. It turns a dark color and non-sticky very soon. If you don’t want to use the stove top, heat the pan in a pre-heated oven for about an hour – I would prefer this method. Usually, the first dosa is discarded and you would get crispy dosa from the very second. In fact, a well-seasoned cast iron is better than non-stick.
There are some tricks one needs to follow to maintain cast iron dosa tawa and to get crispy dosa. First, never let it dry up naturally – that just means it would rust and you would have to season it again. Heat it gradually. Cast iron retains heat, so make your dosa on medium flame. It is not necessary to grease the pan for every dosa but for first dosa, grease it with a few drops of oil and cut piece of an onion/bottle gourd/brinjals/potato. This can be repeated every few dosas to make the tawa non-sticky. Always remember not to scrub a seasoned tawa while cleaning it. The best part about using cast iron is, you get to use metal spoons too! If you have trouble removing the dosa from the tawa – here is a tip, dip the spatula in water – something I learnt from my mom.
I made a quick recipe video to make crispy dosa/dosai – do checkout my Youtube channel and do subscribe too 🙂
How to make Crispy Dosa | How to make Dosa Batter at Home
📖 Recipe

Crispy Dosa | How to make Dosa Batter at Home
MEASUREMENT
1 cup = 250ml, 1 tablespoon = 15ml, 1 teaspoon = 5ml
Ingredients
- 1 cup Dosa Rice (Raw Rice)
- 2 cups Idli Rice (Boiled Rice)
- ¾ cup Whole Urad Dal
- 1 teaspoon Methi/Fenugreek Seeds
- Water as needed
- Salt as needed
- Oil as needed
Instructions
To make Dosa Batter –
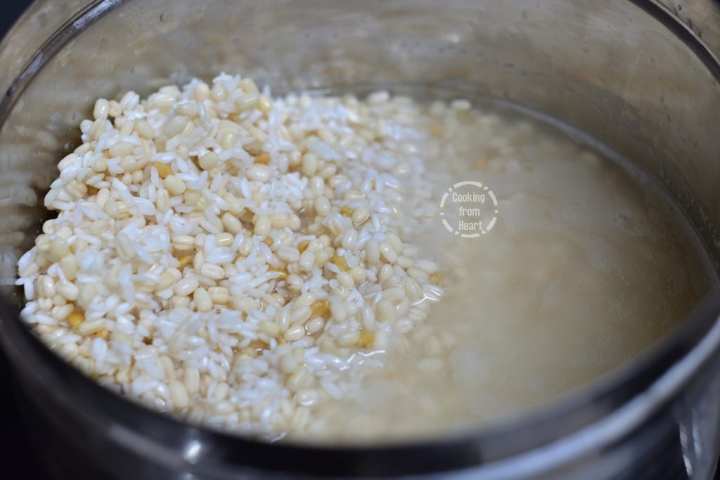
- Soak idli rice, dosa rice, urad dal and methi seeds in enough water for 6-8 hours.
- Grind it into a smooth batter in a wet grinder or mixer sprinkling water as needed.
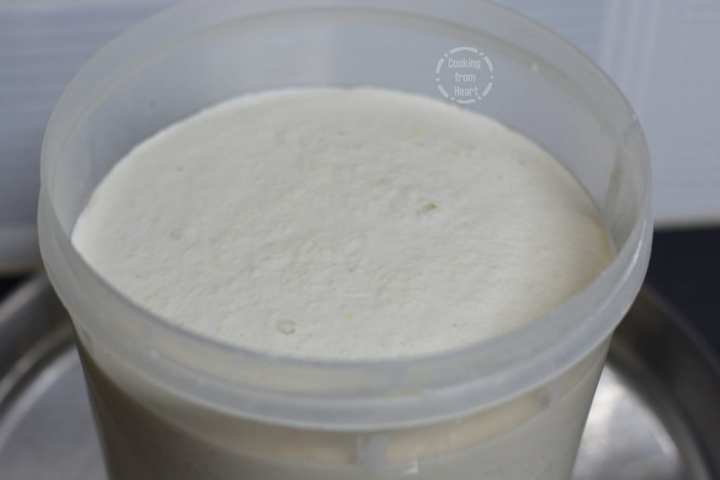
- Add salt as needed and mix it using hand. Let the batter ferment overnight, it would double up in bulk.
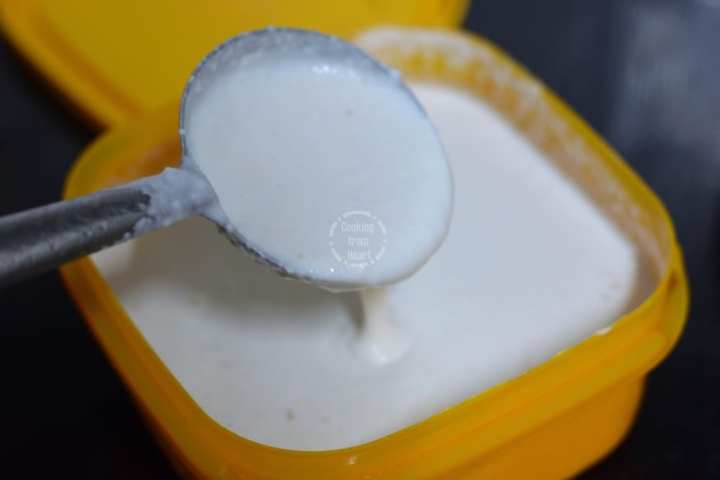
- When ready to make dosa, mix the batter well and add some water if needed. The batter should be thinner than idli batter.
To make crispy dosa -
- Heat the dosa tawa on medium flame. When it is hot enough, grease it with few drops of oil and rub it in using an onion. When drops of water are sprinkled, it should sizzle.
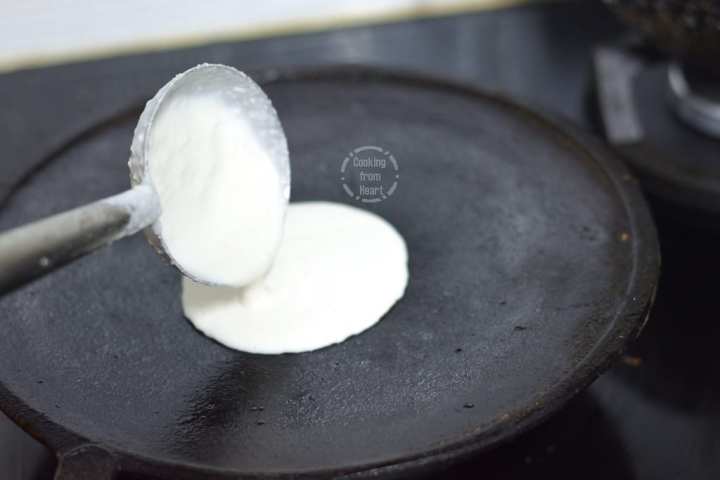
- Pour a ladle of dosa batter at the center of the dosa tawa.
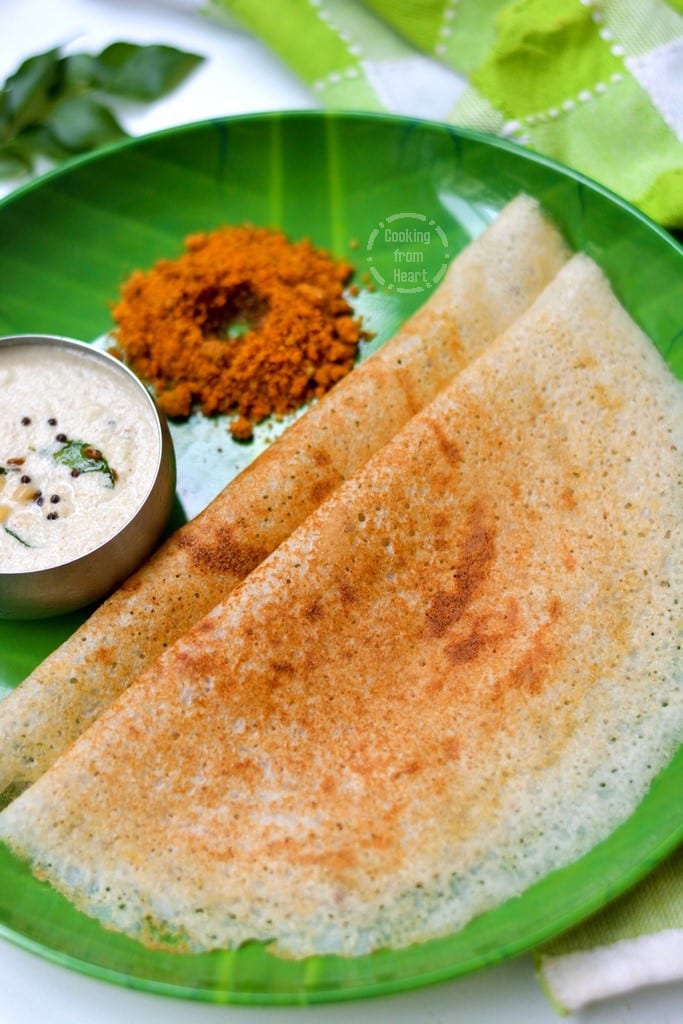
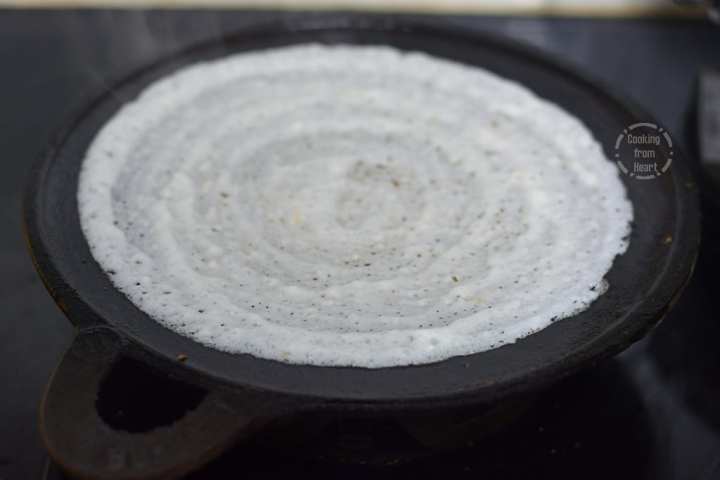
- Spread it as thin as possible on the hot tawa. Sprinkle few drops of oil all over the edges and cook the dosa until it is golden brown in the bottom.
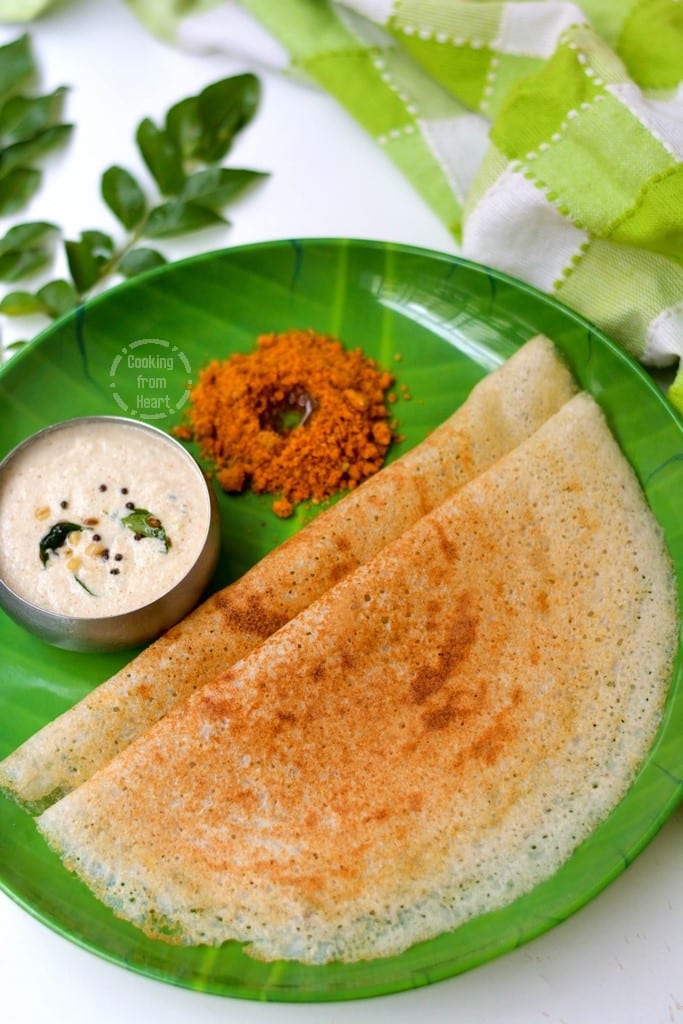
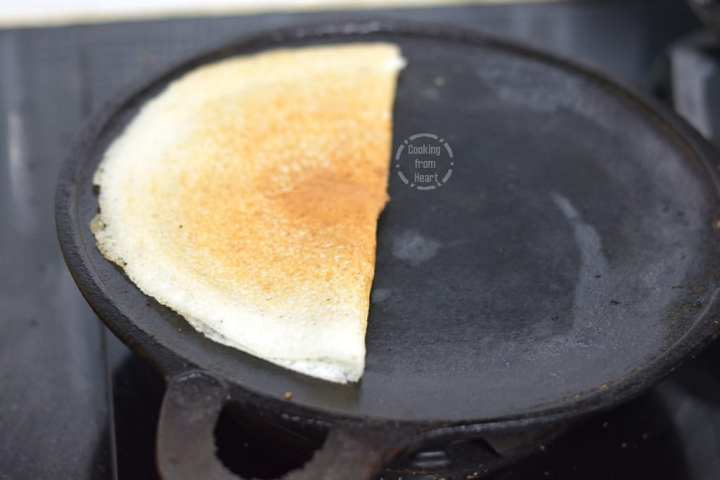
- Gently remove it from the pan. Fold it in half.
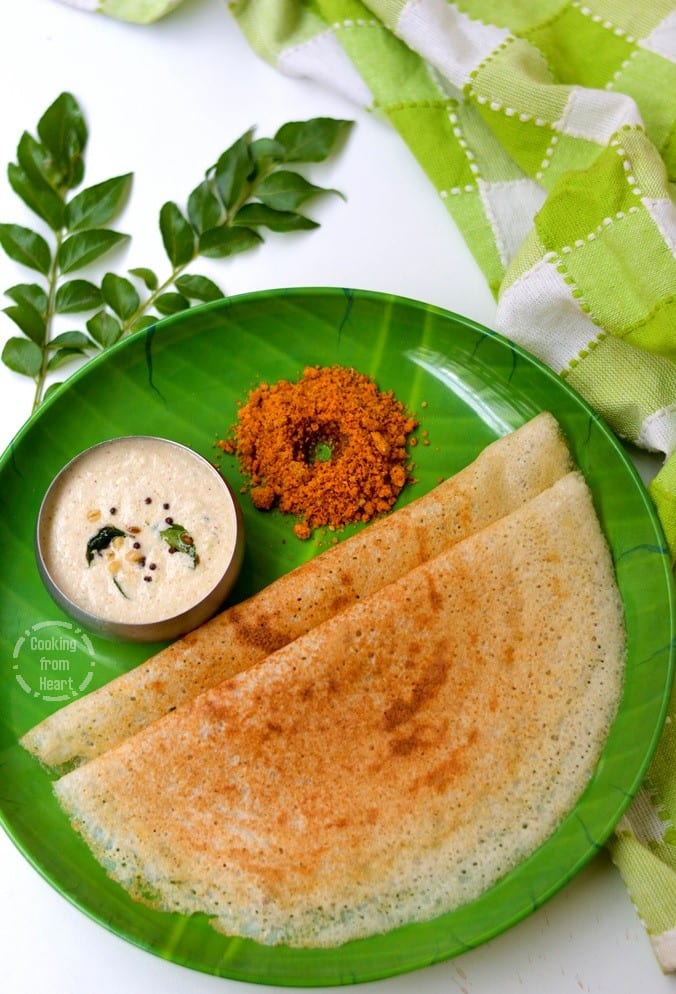
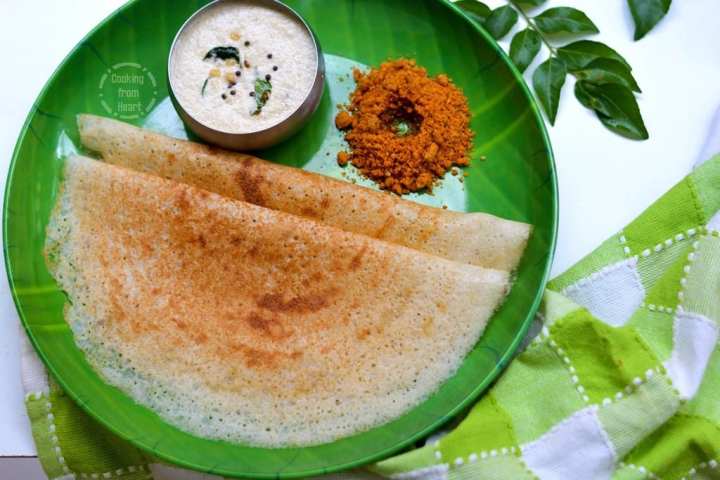
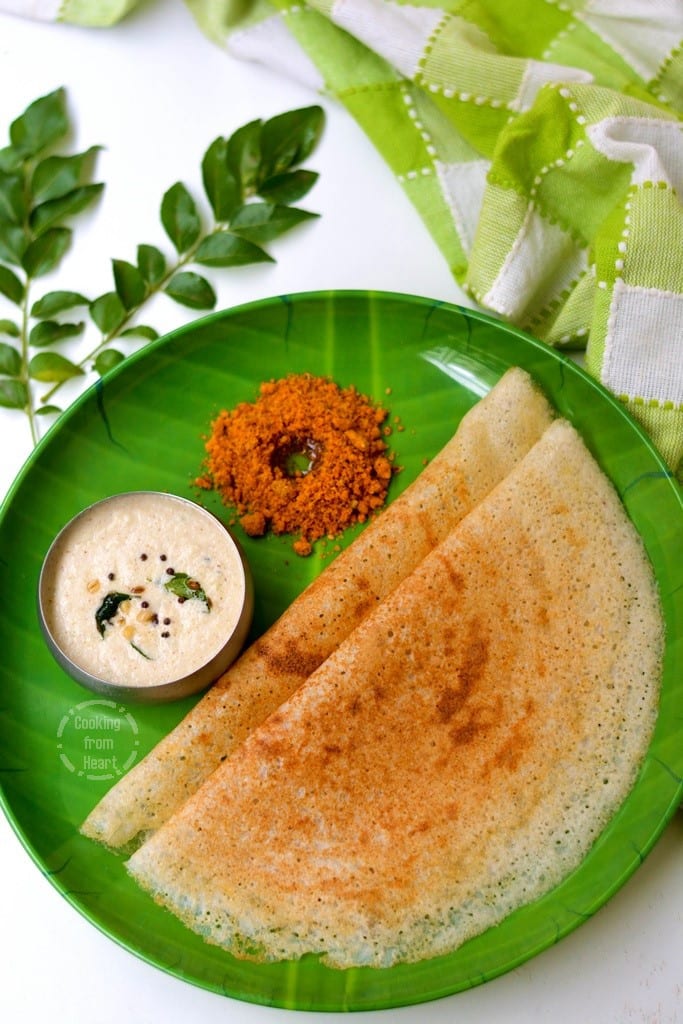
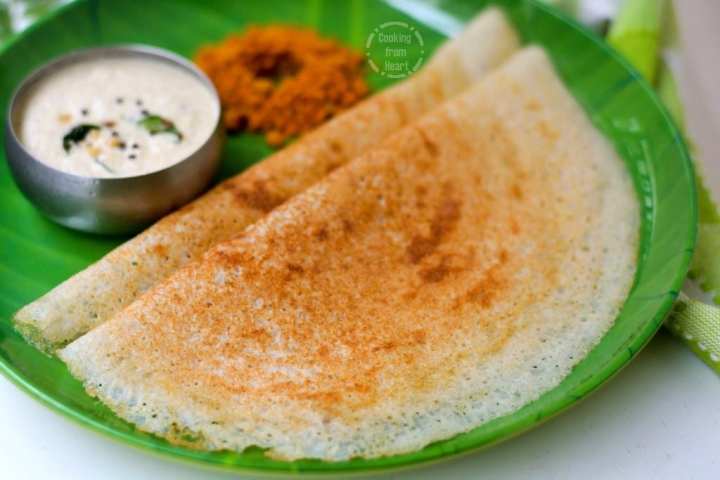
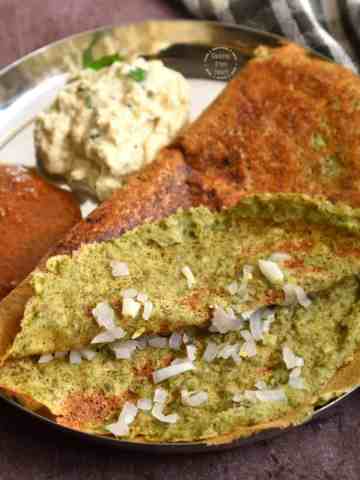
- Serve hot with coconut chutney, chutney podi or sambar.
Detailed step-wise picture recipe of making Crispy Dosa | How to make Dosa Batter at Home
To make Dosa Batter
1. Soak idli rice, dosa rice, urad dal and methi seeds in enough water for 6-8 hours.
2. Grind it into a smooth batter in a wet grinder or mixer sprinkling water as needed. Add salt as needed and mix it using hand. Let the batter ferment overnight, it would double up in bulk.
3. When ready to make dosa, mix the batter well and add some water if needed. The batter should be thinner than idli batter.
To make crispy dosa
1. Heat the dosa tawa on medium flame. When it is hot enough, grease it with few drops of oil and rub it in using an onion. When drops of water are sprinkled, it should sizzle.

2. Pour a ladle of dosa batter at the center of the dosa tawa.
3. Spread it as thin as possible on the hot tawa. Sprinkle few drops of oil all over the edges and cook the dosa until it is golden brown in the bottom.
4. Gently remove it from the pan. Fold it in half.
5. Serve hot with coconut chutney, chutney podi or sambar.
Recipe Notes
- If using a mixer to grind the batter, grind it in batches making sure the batter is not heating up.
- Mixing the batter with hand is important to activate the fermentation process.
- Unless the batter is fermented, dosa would not turn out properly.
- The dosa tawa/pan has to be at perfect heat – too low temp means the dosa would stick to the pan. If the pan is too hot, it would be difficult to spread the batter. Sprinkle some water on top of pan if at all the pan is very hot.
I would be delighted to know if you have tried this recipe, don’t forget to share your feedback and comments below. If you have any questions, you can e-mail me! I am also available on Facebook, Pinterest, Instagram and Twitter 🙂

Nandini Narasimhamurthy
What’s the actual reason behind discarding the first dosa??
chcooks
This is only applicable for cast iron pan, especially it is seasoned for the first time. The dosa might turn contain sediments from the seasoning and that's why it is better to discard the first time dosa. But for subsequent uses, no need to do that.
Maria. K
HI ,I’m sorry but pl confirm if it is boiled rice or par boiled rice. where I live , it is not the sme.would want to try it out - thanks
chcooks
Hi Maria, pls use parboiled rice in that case .
bhawna
Hi, I look forward to cooking this. Saw whole white urad dal first time in a grocery shop in Andhra this year and never in my native Delhi. As per your advice I have ordered a cast iron dosa tawa online and now will also get the whole white urad dal. Thankyou. Will let you know how the dosa turns out.
Ramya
Great 🙂
Sibi
Hi… I tried this recipe twice once the dosa texture was rubbery and second time I made sure the batter is not very smooth but little coarse still the dosa is not crispy .. can you advise what could be wrong .. I use a iron tawa only ..
Ramya
Hi Sibi, It is hard to say why the dosas were not crispy without actually looking at the batter. It depends on the rice and urad dal used. Also, did your batter ferment well as in double in volume? If the dosa was soft, it means the urad dal volume was higher and if it was rubbery, urad dal volume was less and rice was ground too fine, or the batter did not raise well.